Torn Paper Collage Poster
Your photo on top, the same scene rebuilt below in hand-torn paper
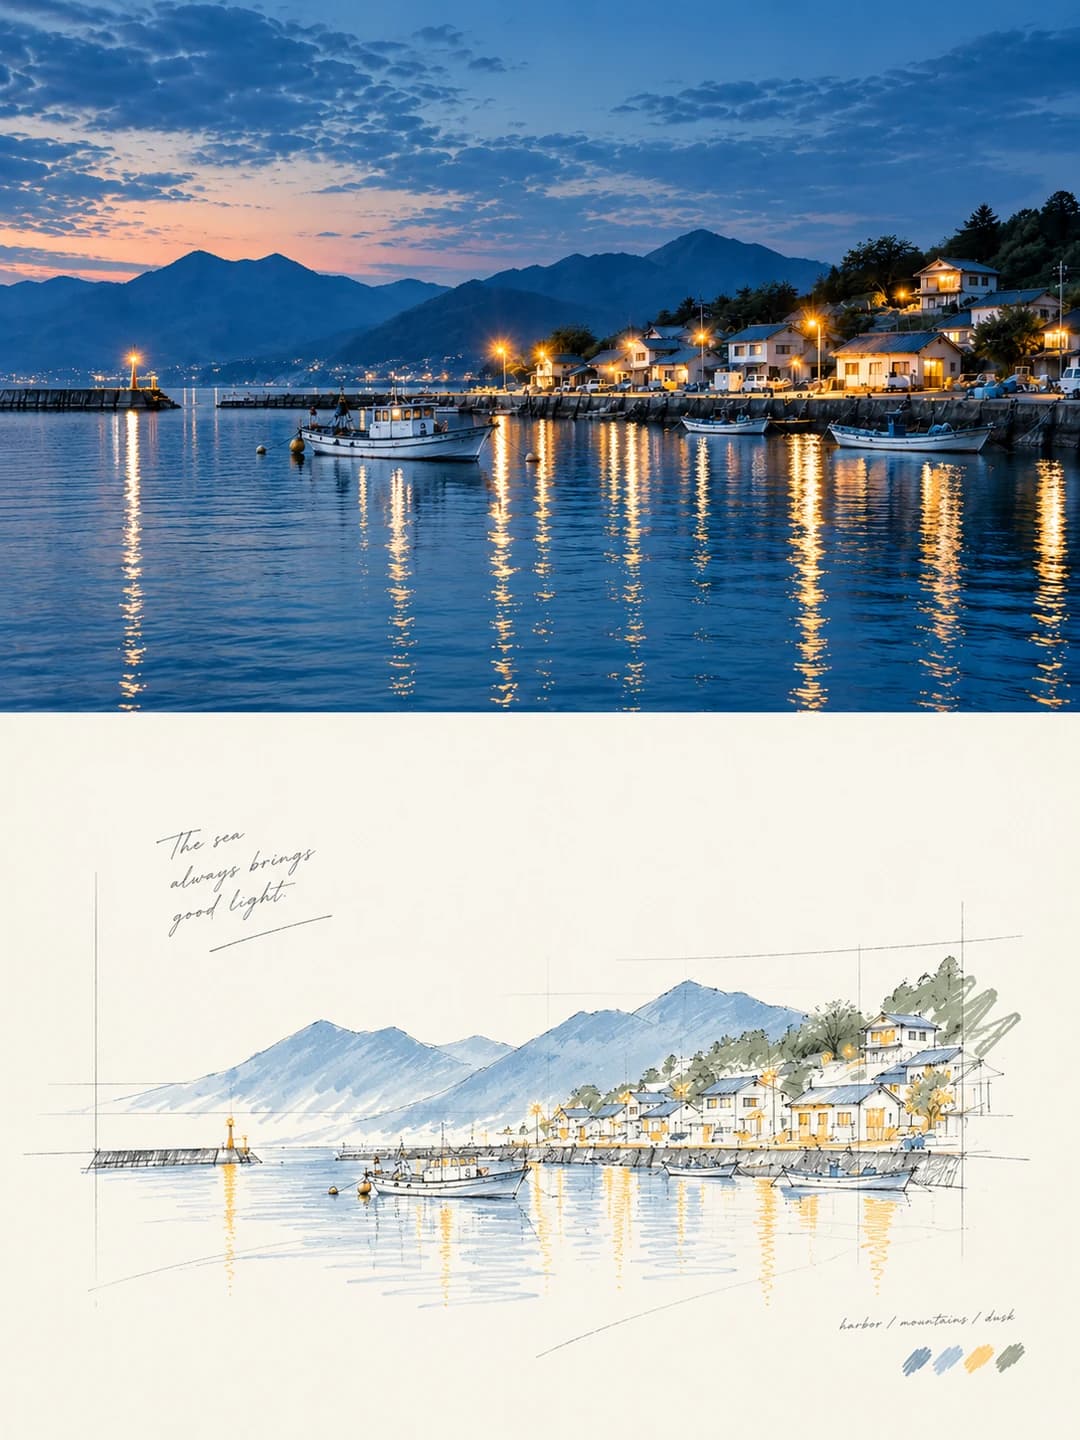
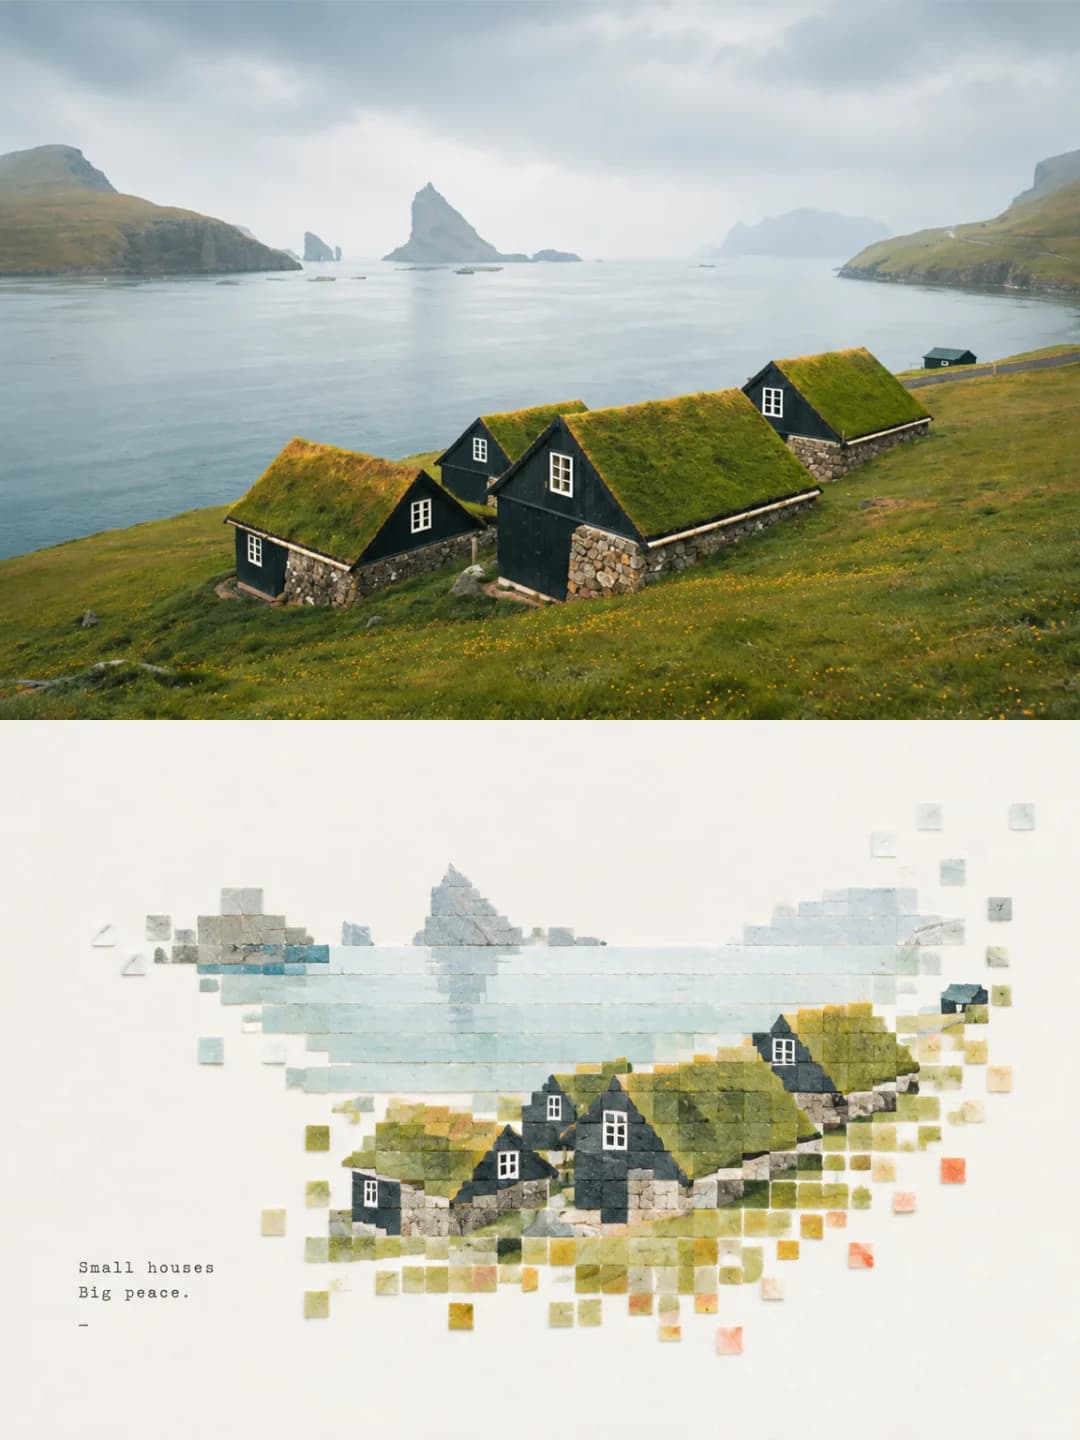
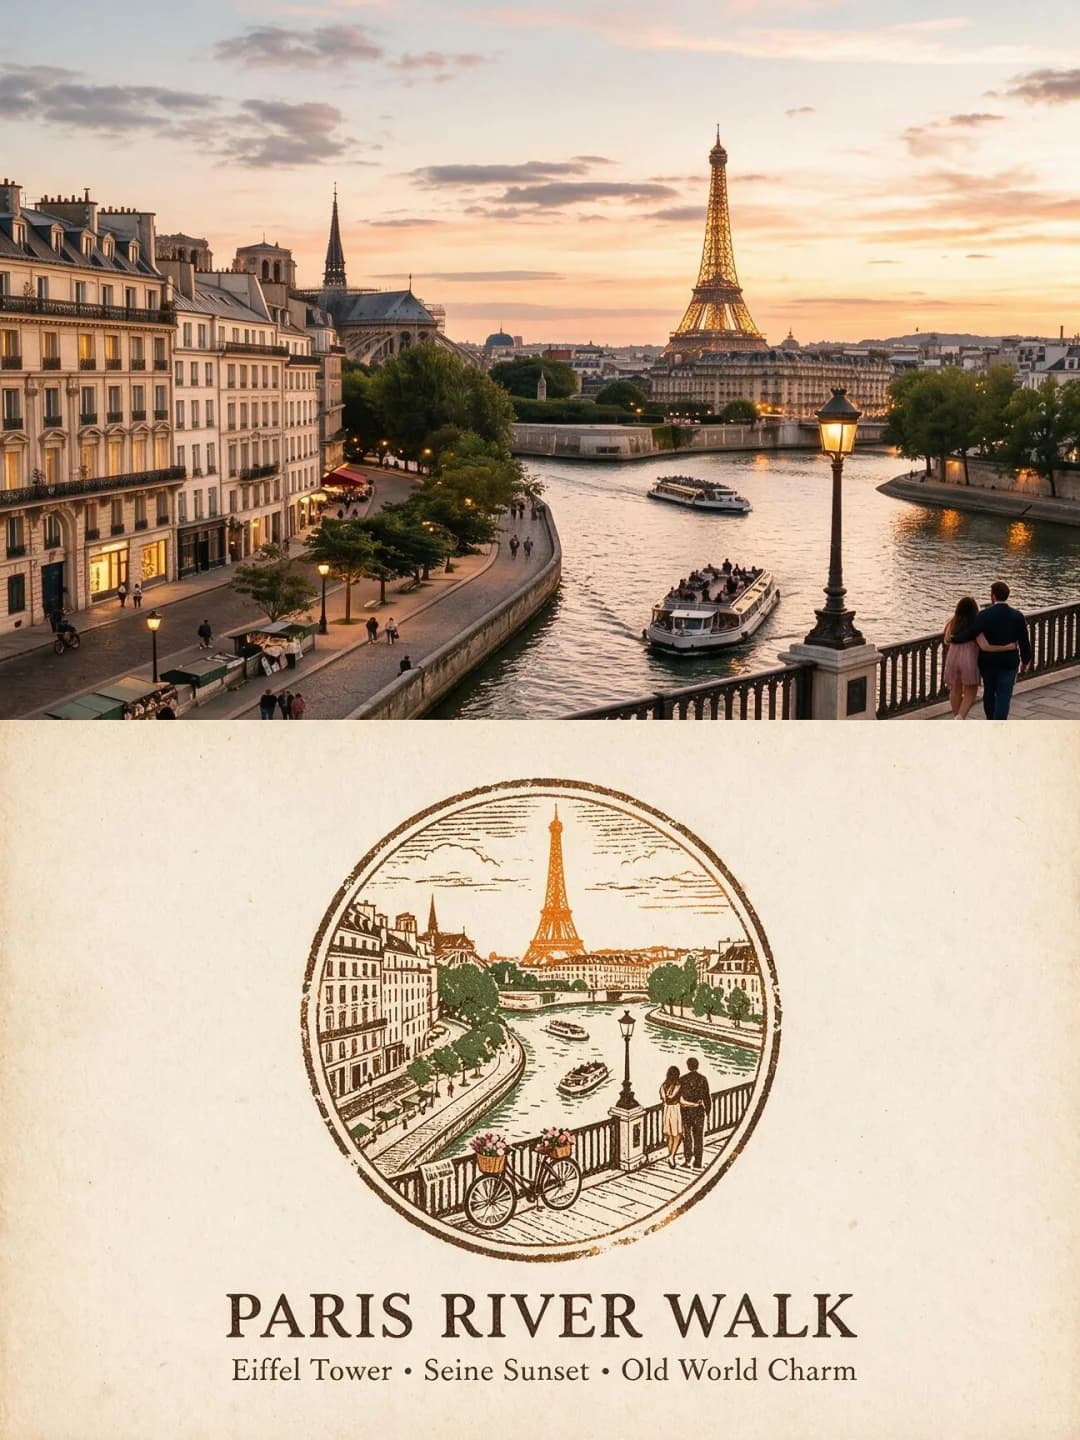
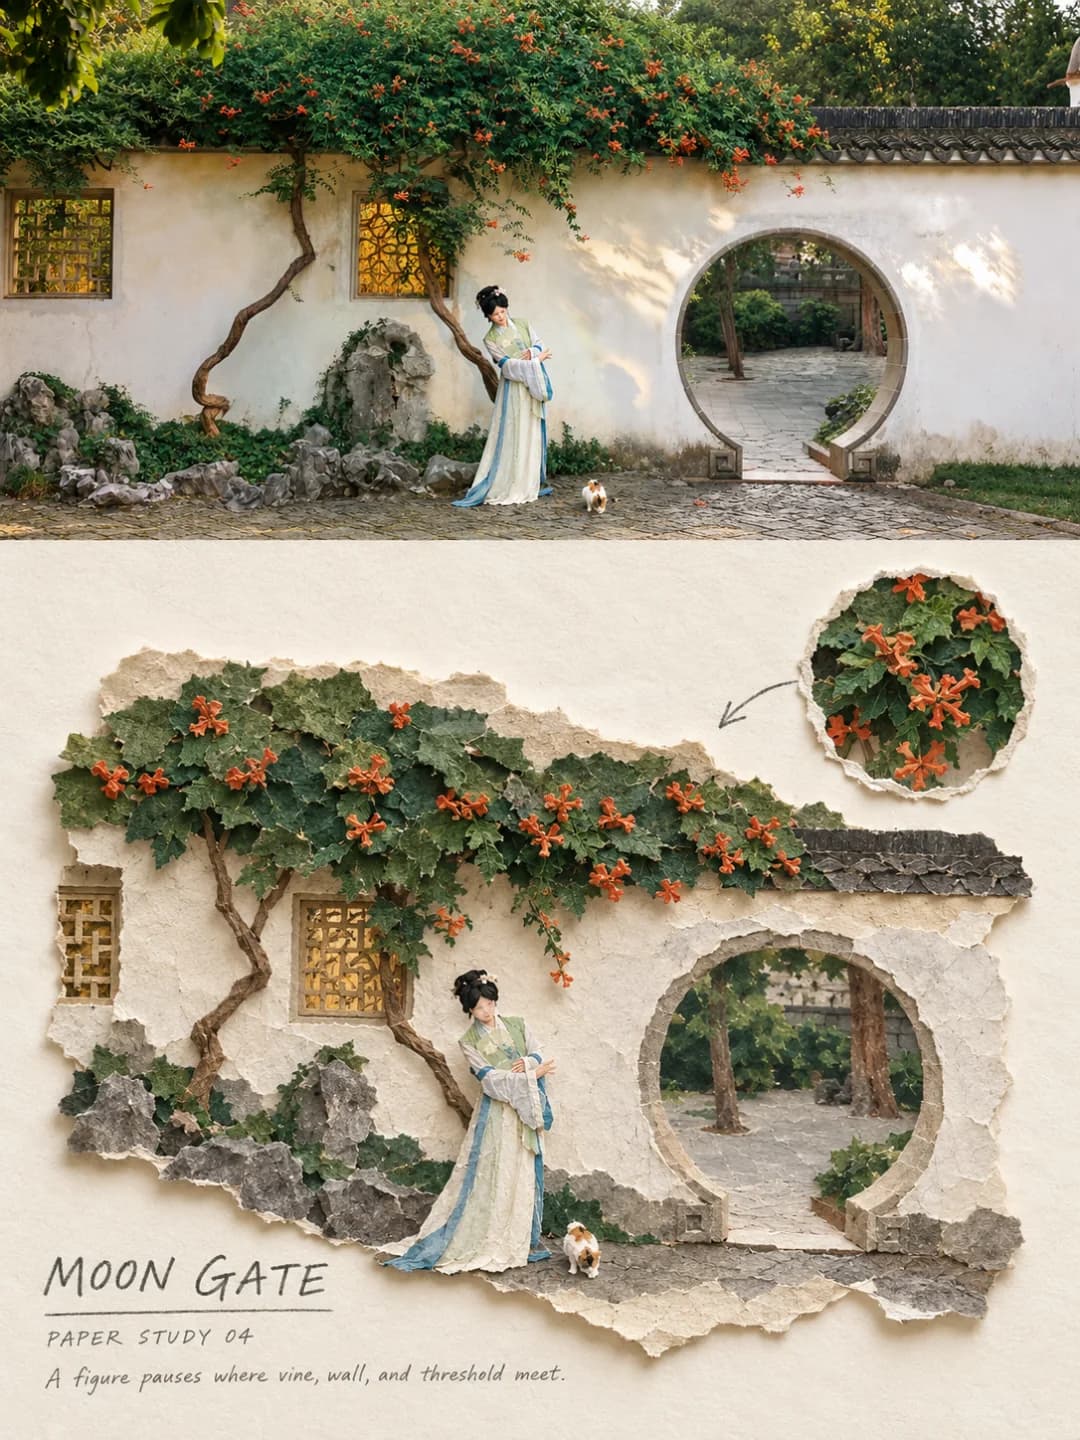
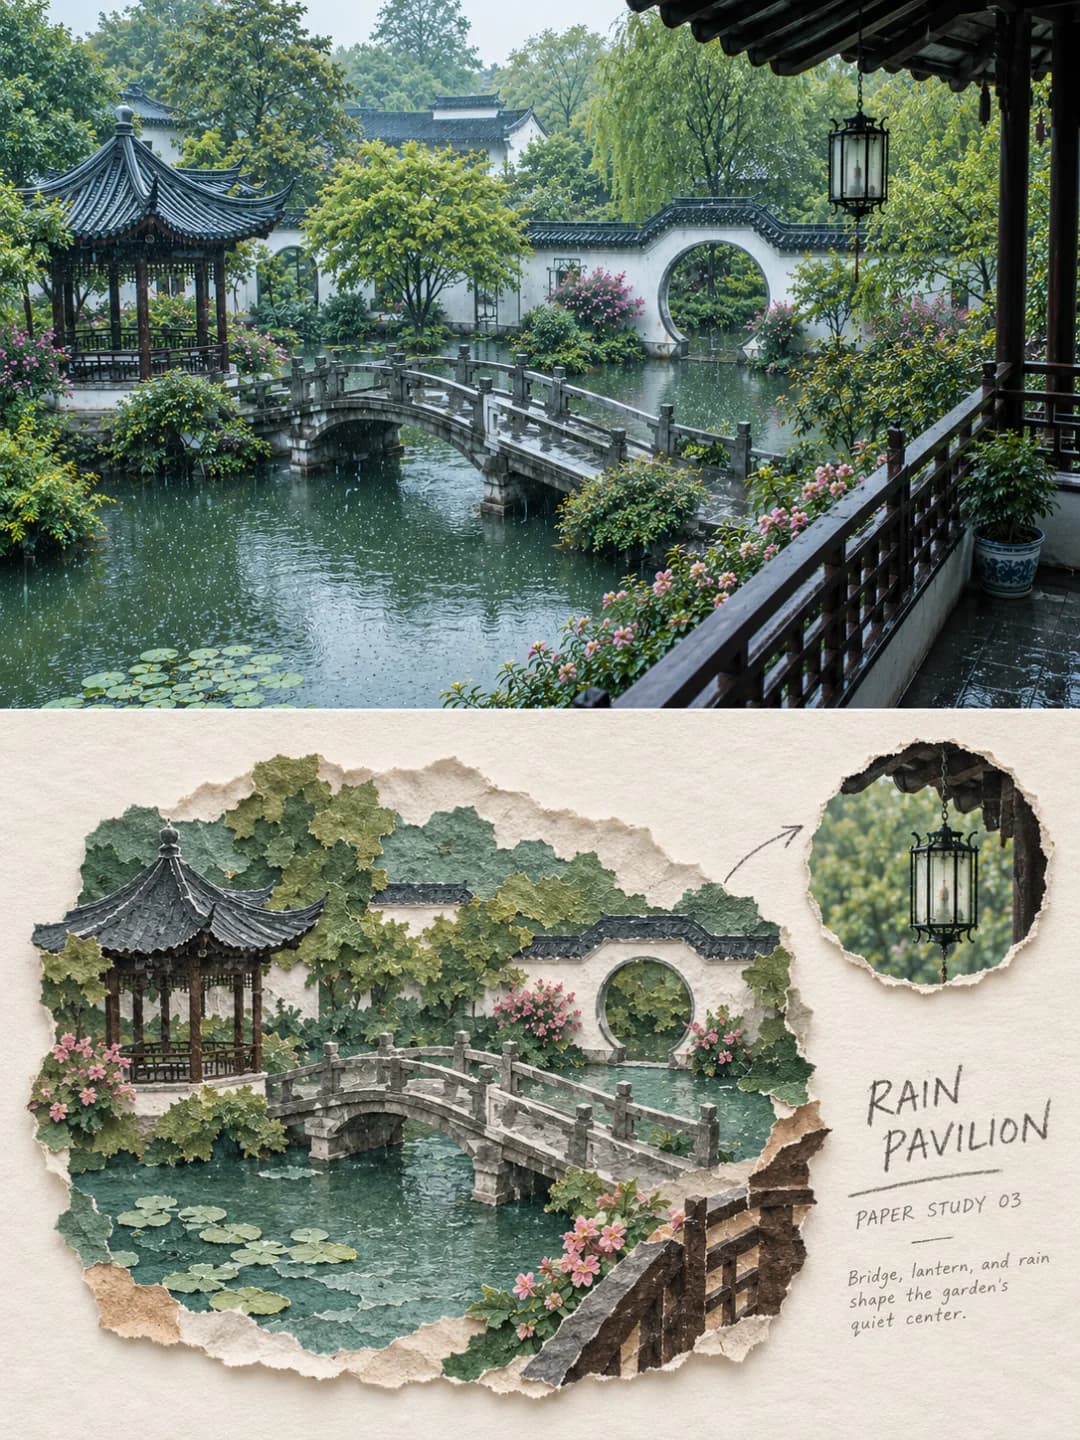
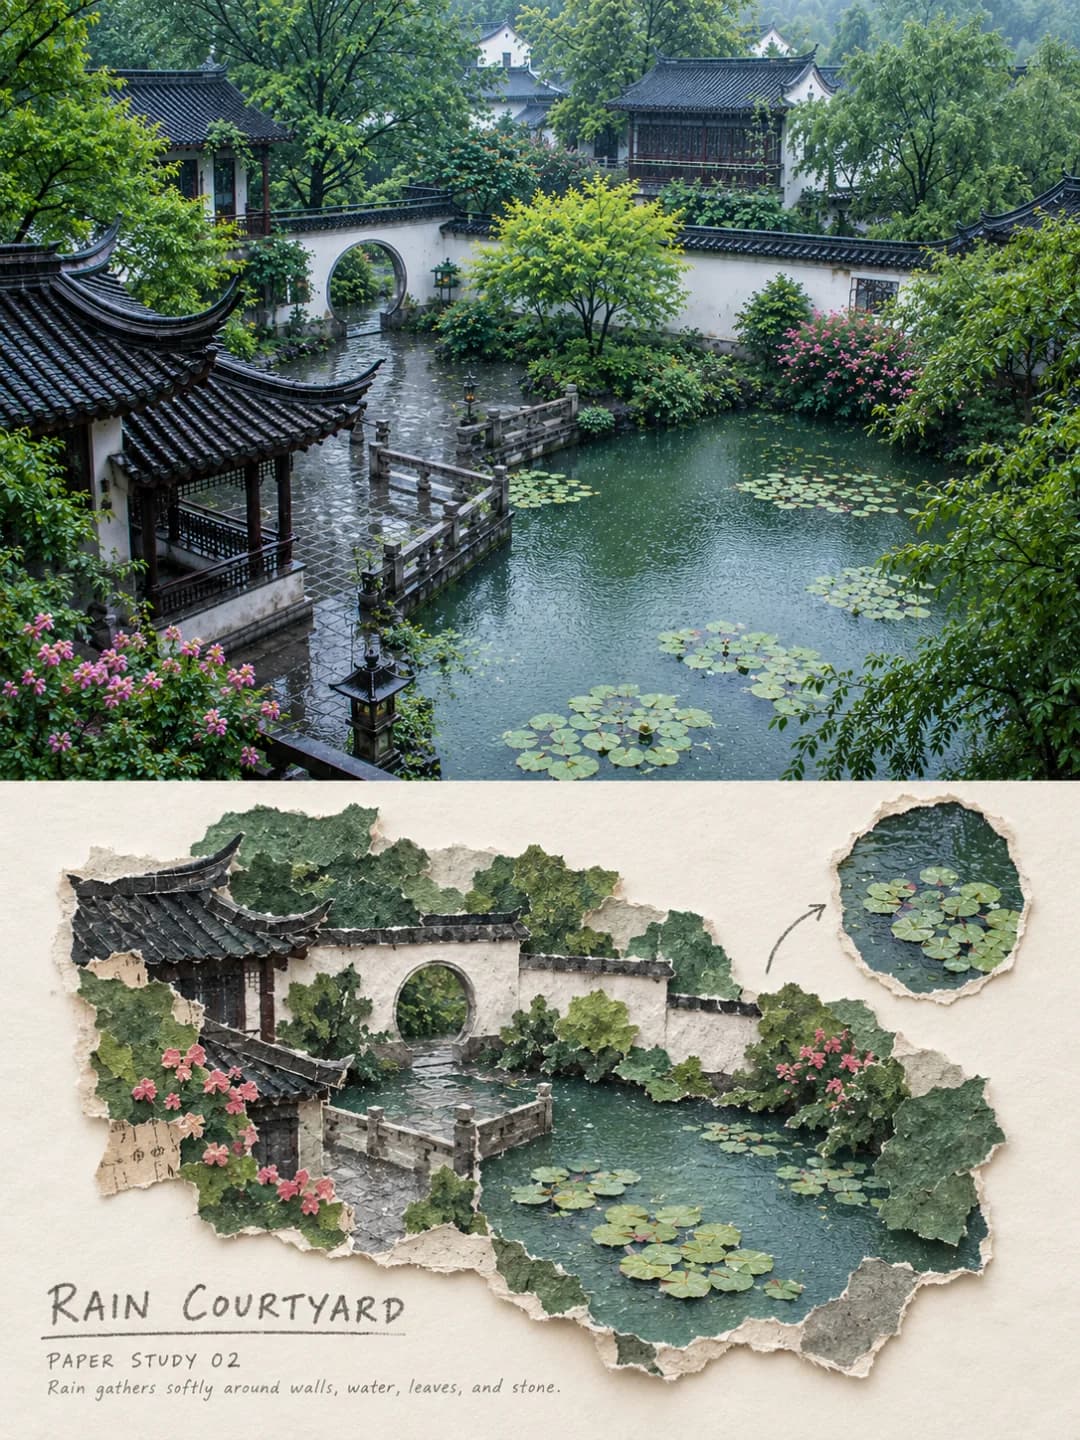
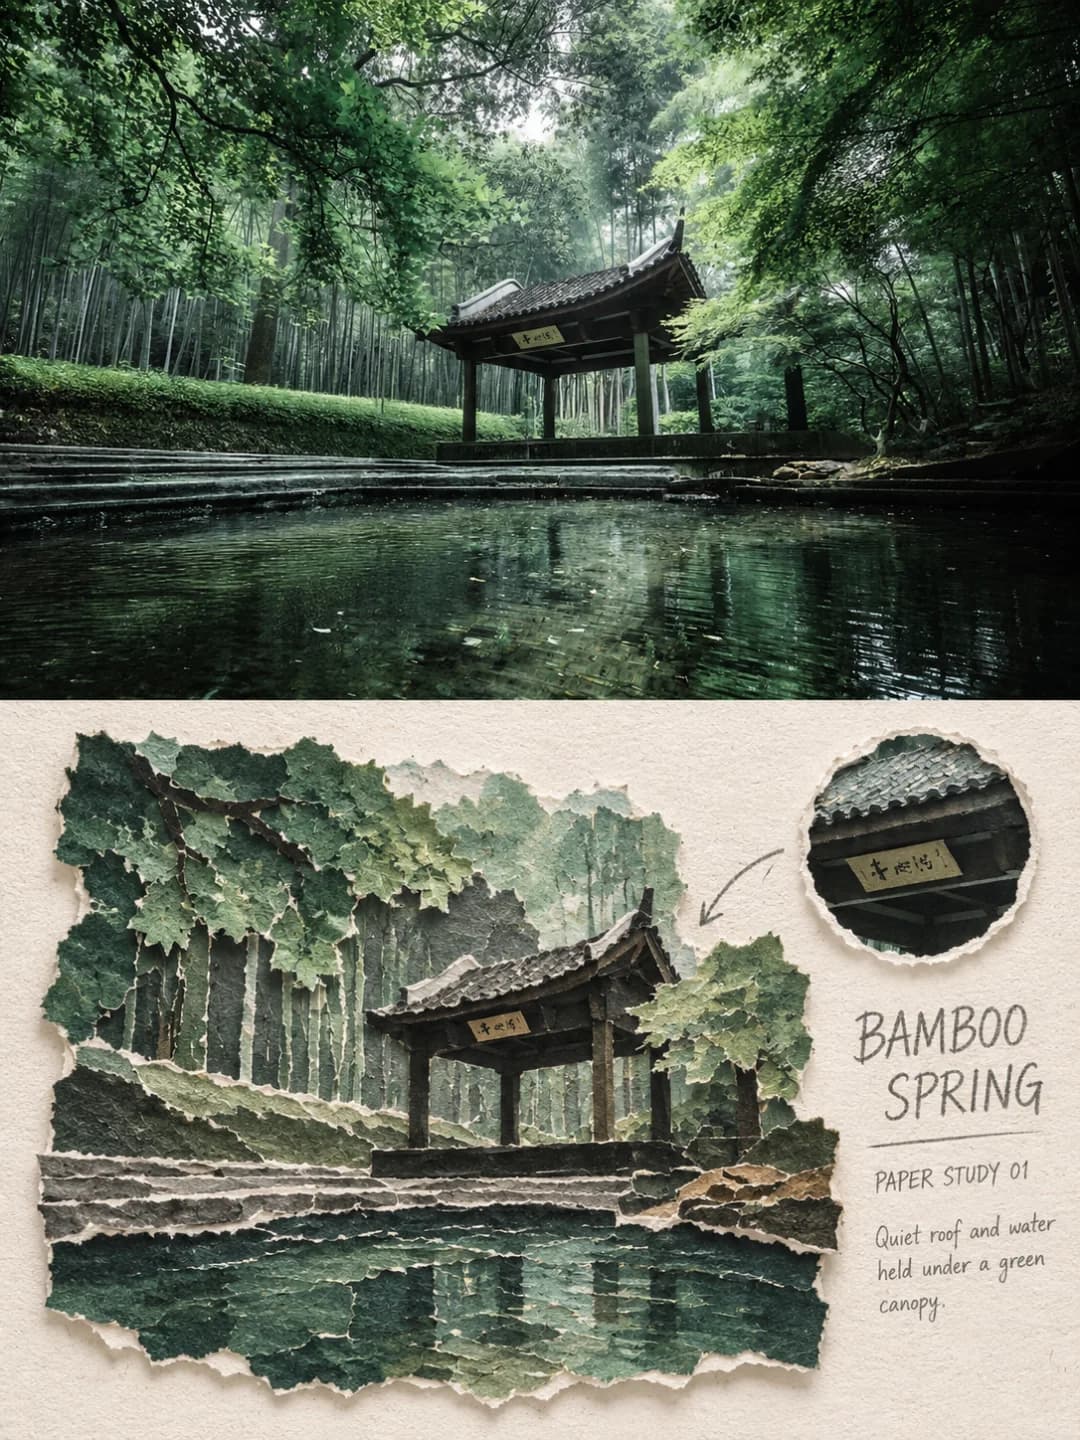
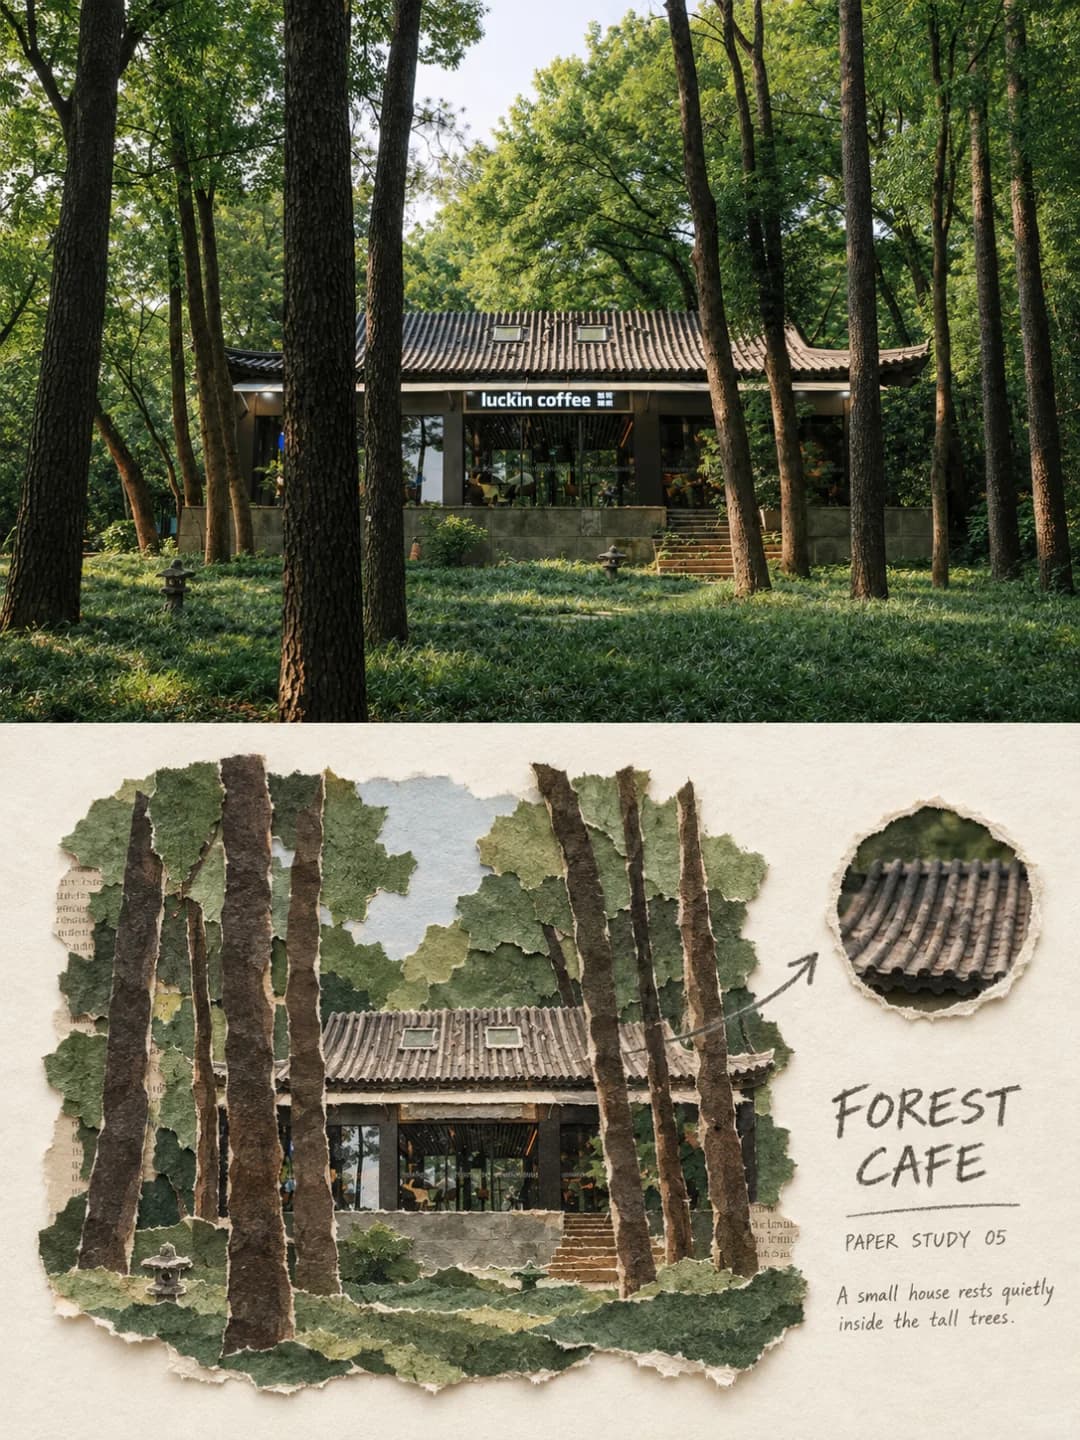
Upload a photo and get back a 3:4 poster: your photograph across the top, the same scene rebuilt underneath as a relief collage of hand-torn paper — fibrous edges, real paper thickness and short cast shadows, with a torn circular inset magnifying one detail.
100 credits per image · about a minute · New accounts get 500 credits — 5 free images.
Try it with your own photo
New accounts get 500 credits — 5 free images.
Examples
Every image below was made with the prompt on this page.
What is a torn paper collage poster?
A torn paper collage poster splits a 3:4 frame into two bands with a clean horizontal edge. The top band, just under half the height, is your photograph, held faithful to its angle, buildings, vehicles, people and light with only light travel-magazine grading. The lower band rebuilds the same scene as a physical collage: facades, roofs, road, planting and figures each torn from matte fibre paper, rice paper, corrugated card and kraft, showing fibrous edges, slight overlaps and real cast shadows. A torn circular inset enlarges one detail with a graphite arrow back to it. Colour is reduced to five to seven greyed paper tones drawn from your photo.
Works well with
Scenes with depth and structure: a lane between buildings, a courtyard, a temple roof, a bridge over water, a shopfront, a garden wall. The collage needs one clear receding line and a few identifying objects — a lantern, an umbrella, a figure, a sign — to tear into shapes.
Struggles with
Portraits and close-ups: torn paper flattens a face into a shape. It is also weak on flat, frontal subjects with no depth, and on crowds — the prompt deletes repeated windows and busy groups on purpose, so a scene whose whole interest is its density comes back much emptier than you expect.
The prompt behind this tool
This is the full prompt, translated into English. Copy it and use it with any image model that accepts a reference photo.
Turn the uploaded photo into a single high-end torn-paper editorial art poster — not a collage of several images. Use a vertical 3:4 diptych composition: the top holds the real original photograph, clearly visible; the bottom rebuilds the same scene as a "torn-paper scene reconstruction". The two bands are close to equal in height, separated by a clean horizontal edge — no haze, no bleeding between them. Output the face of the poster only: no picture frame, no wall, no hand-held mockup.

The top band occupies roughly 47–50% of the frame and preserves the original photograph faithfully. Keep the viewing angle, the direction of the vanishing point, the slope of the road, the buildings on either side, the eaves, the doors and windows, the signage, the vehicles, the plants, the overhead wires, and the number and posture of any people, along with the original natural light and colour. Apply only light travel-magazine grading and the thinnest film grain; it must still read clearly as real photography. The sky, the road surface or quiet parts of the surroundings may be extended naturally to fit the frame, but do not repaint buildings, move people, alter vehicles, stretch, mirror or duplicate the subject.

In the lower band, do not simply put a paper filter over the same framing, and do not assemble rectangular photo fragments. First choose the single dominant vanishing line of the space, the main facades on either side, and one to three objects that best identify the place — a pedestrian, a vehicle, a lantern, an umbrella, overhead wires, a plant, a sign or a roof. Actively delete repeated window panes, complicated crowds, irrelevant small objects and photographic noise, then reorganise what remains into a smaller, clearly outlined, physical torn-paper scene.

The reconstructed scene fills about 60–82% of the lower band, centred or slightly offset, with roughly 20–35% of continuous ivory paper left around it. Re-judge the scale and visual hierarchy against the original so that the most recognisable building, object or figure becomes the anchor on the sheet; do not transcribe the photograph's full composition. A small torn circular window may be added in the white space, enlarging one real detail taken from the original, connected back to the main scene by a single graphite arrow.

Build the facades, road surface, eaves, plants, sky and figures piece by piece from hand-torn matte fibre paper, thin rice paper, corrugated card, kraft paper and a little old printed stock. Every major shape must show clearly visible fibrous torn edges, slight overlaps, real paper thickness, lifted corners and short, natural cast shadows. Torn edges may be irregular, but the outline of the scene, the direction of the space, the boundaries of the buildings and the identity of the subject must stay legible. No smooth vector slices, no laser-cut edges, no flat digital shadows.

Take the colour entirely from the photograph above, reducing its complexity to five to seven greyed paper tones. Build the skeleton from the true dominant colours of the walls, the road, the roofs, the planting and the people, and keep exactly one characteristic accent from the original — a rust red, a cobalt blue, an olive green or whatever the photograph actually offers. Do not apply a fixed Japanese-travel palette to every location.

Text — generated
Arrange a restrained group of handwritten editorial type in the ivory white space to the right or below: one all-capitals headline of two or three words distilled from the place, the subject or the mood; a fine rule beneath it; a small numbered note under the rule; and one descriptive line of no more than twelve words. The type sits quietly on the blank paper and never covers the torn-paper scene.
Frequently asked questions
- Will it change the people or the subject in my photo?
- Not in the top band. The prompt is unusually strict there — it names the viewing angle, the buildings, the eaves, the signage, the vehicles, the wires and the number and posture of people as things that must be preserved, and forbids repainting, moving or duplicating any of them. The lower band is a rebuild, and there the prompt deliberately deletes repeated windows, crowds and small clutter.
- Can I choose the headline?
- Yes, and it is the more reliable path. Type your own headline and note and the model transcribes them exactly as written. Leave them blank and it distils its own two or three words from the scene, which is a coin toss on wording. The original prompt this effect is based on had no text instruction at all; the caption controls are our addition.
- What language can the headline be in?
- Any — the model sets whatever string you hand it. The style is handwritten small-caps editorial type, so short lines work best: two or three words for the headline, a few more for the note.
- What is the small circle with the arrow?
- A torn circular window sitting in the blank paper, enlarging one real detail from your photograph — a roof tile, a lantern, a cluster of flowers — with a single graphite arrow drawn back to where it belongs in the main scene. The prompt asks for it but does not force it, so it appears on most results rather than all.
- Where do the colours come from?
- From your photo, reduced. The prompt collapses the image down to five to seven greyed paper tones taken from the walls, road, roofs, planting and people, and keeps exactly one characteristic accent — a rust red, a cobalt, an olive. It also explicitly forbids applying a stock Japanese-travel palette to every location.
- What size do I get?
- 2K is 1792 × 2400 pixels, which prints cleanly at poster size. 4K doubles that and costs 200 credits instead of 100.
- Can I use my own prompt instead?
- Not in this tool — it runs one fixed prompt. The full text is published on this page, so you can copy it and run your own variations anywhere that accepts image prompts.
- What happens to my photo?
- It is stored privately so the generator can read it, and deleted on a schedule. It is never made public, never shown to other users, and never used to train a model.