Paper Cut Travel Poster
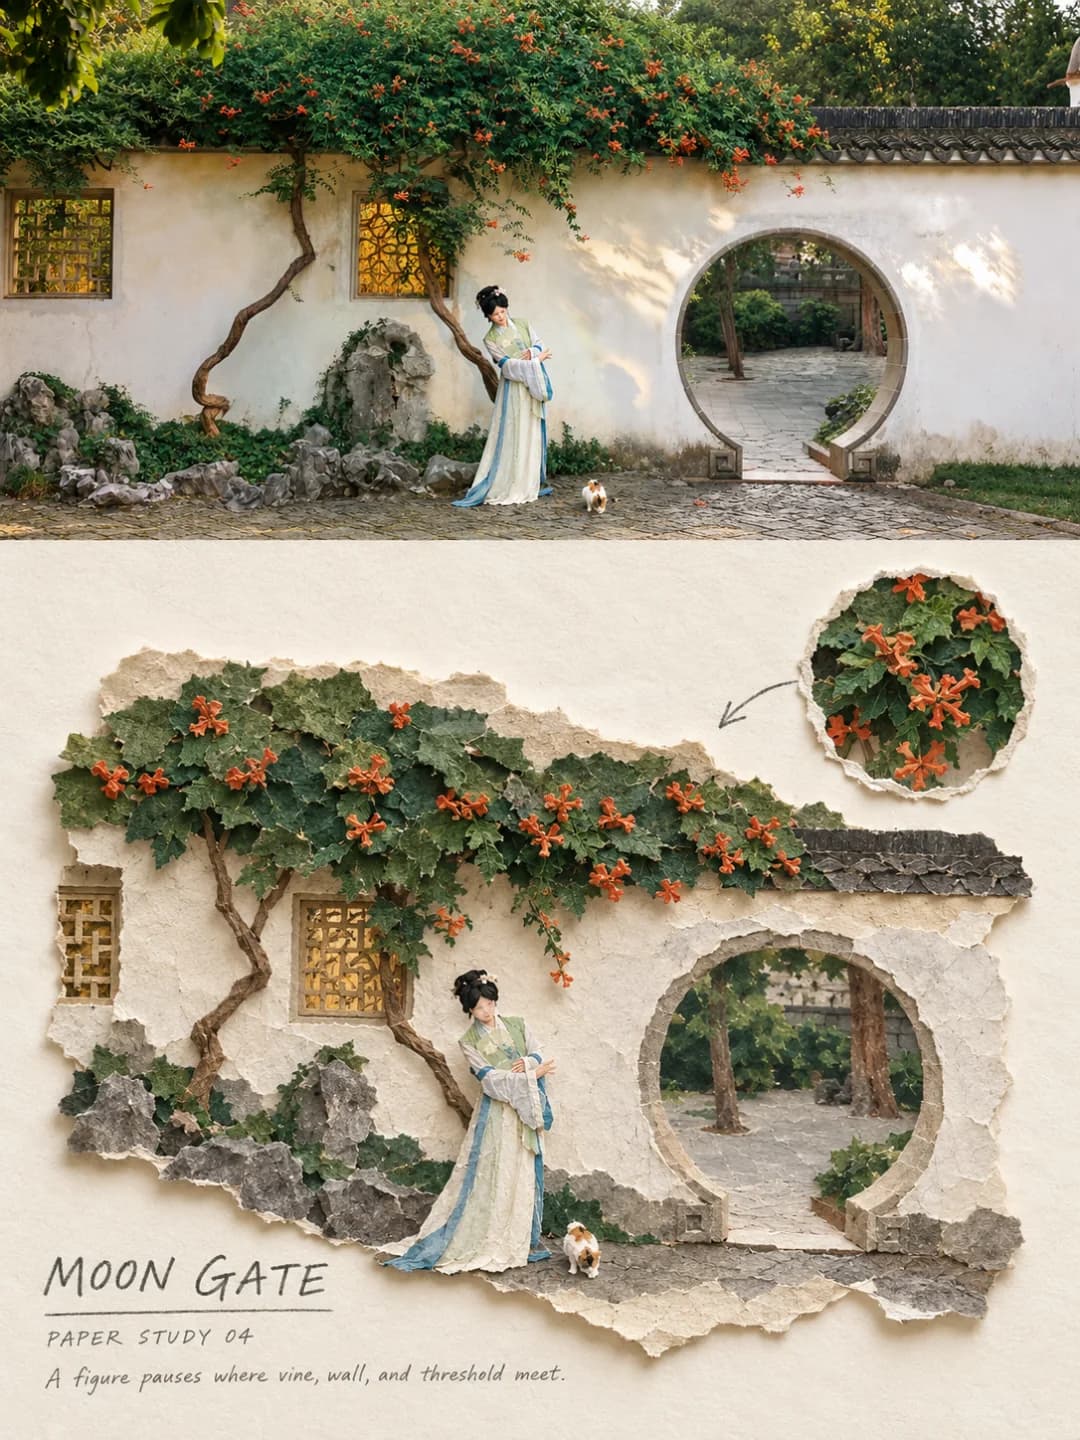
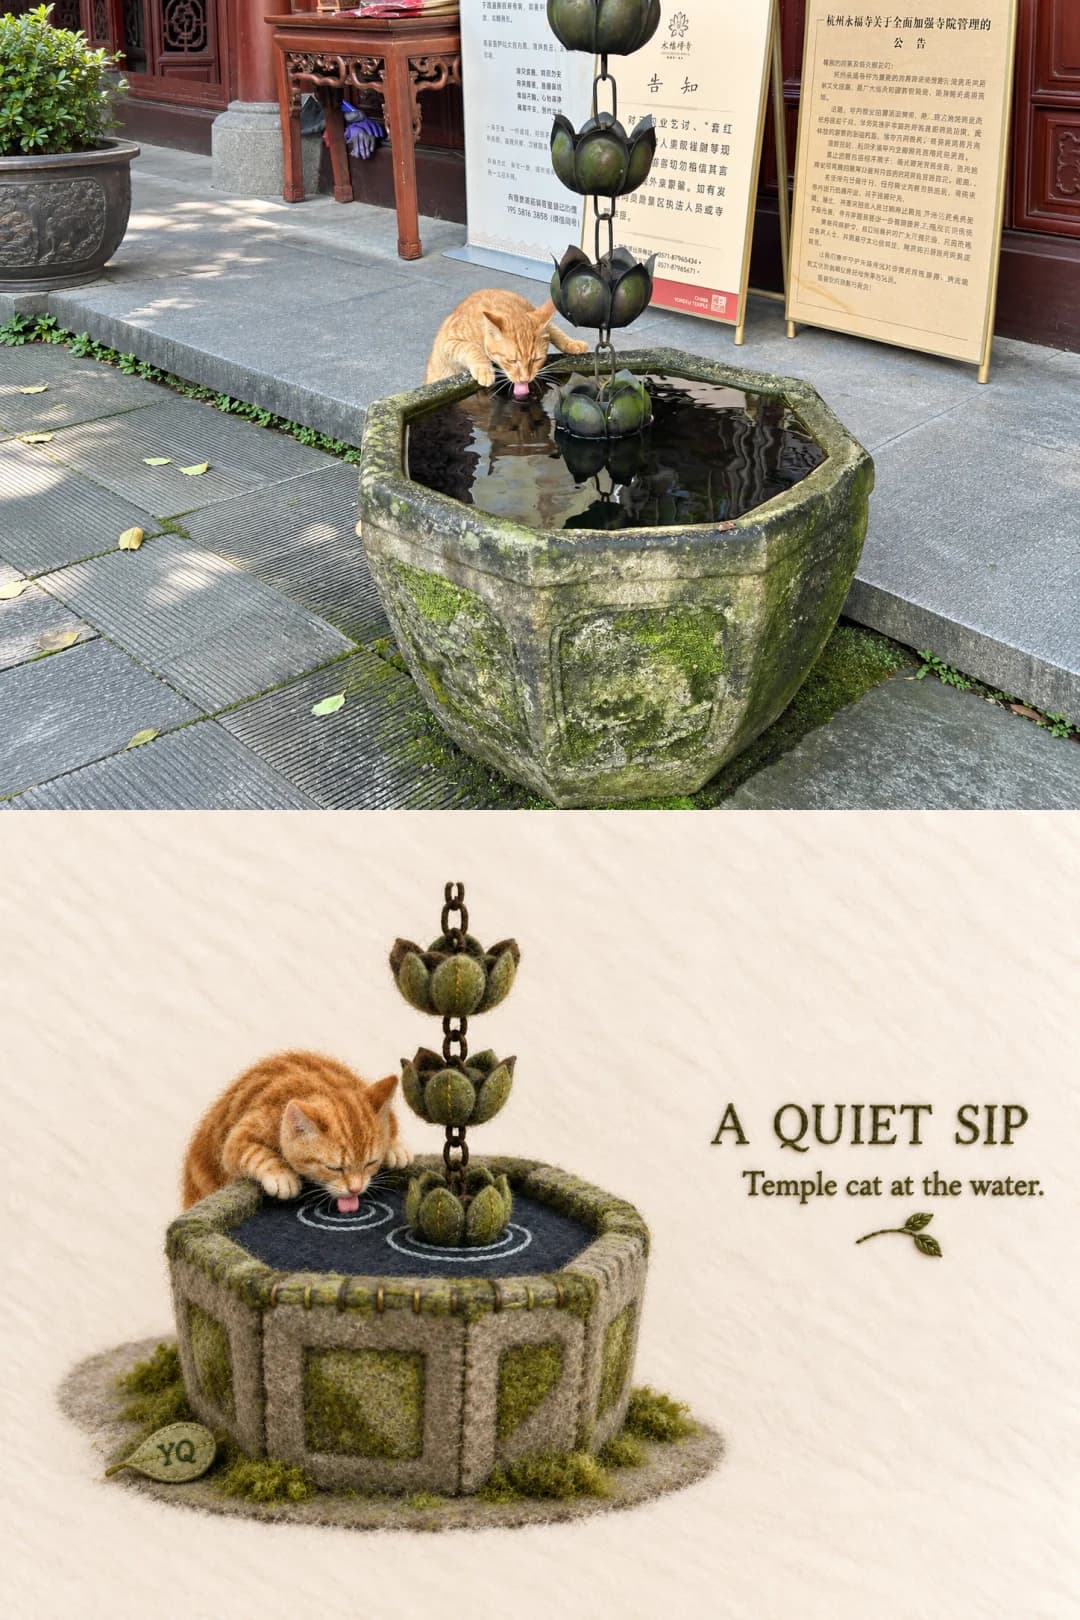
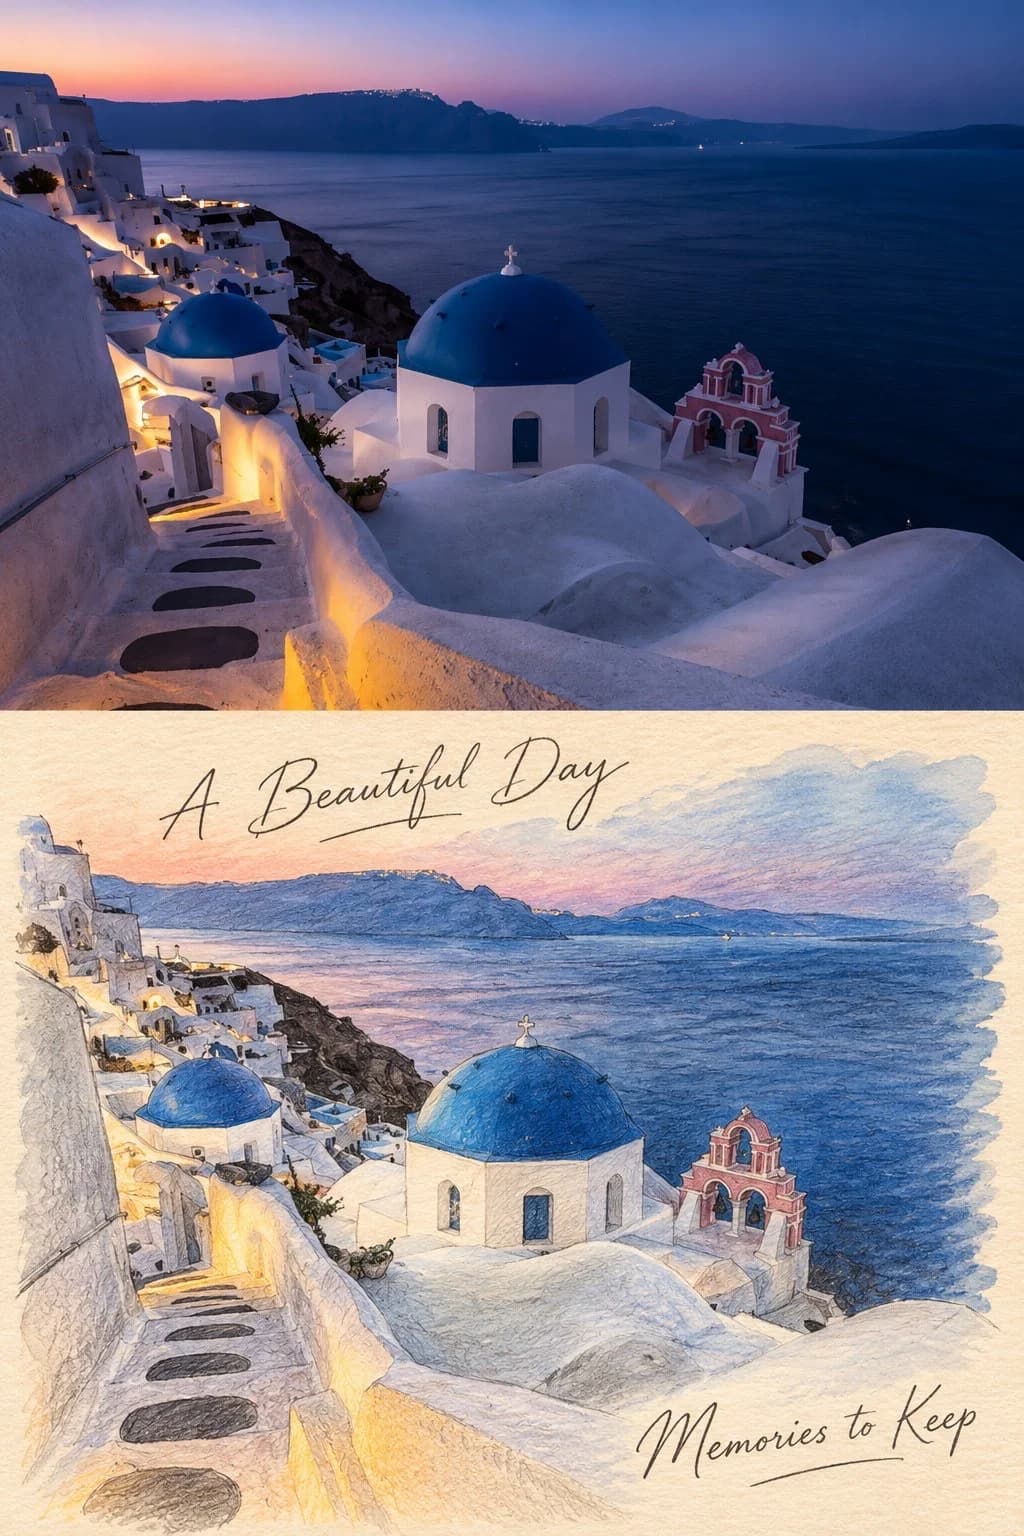
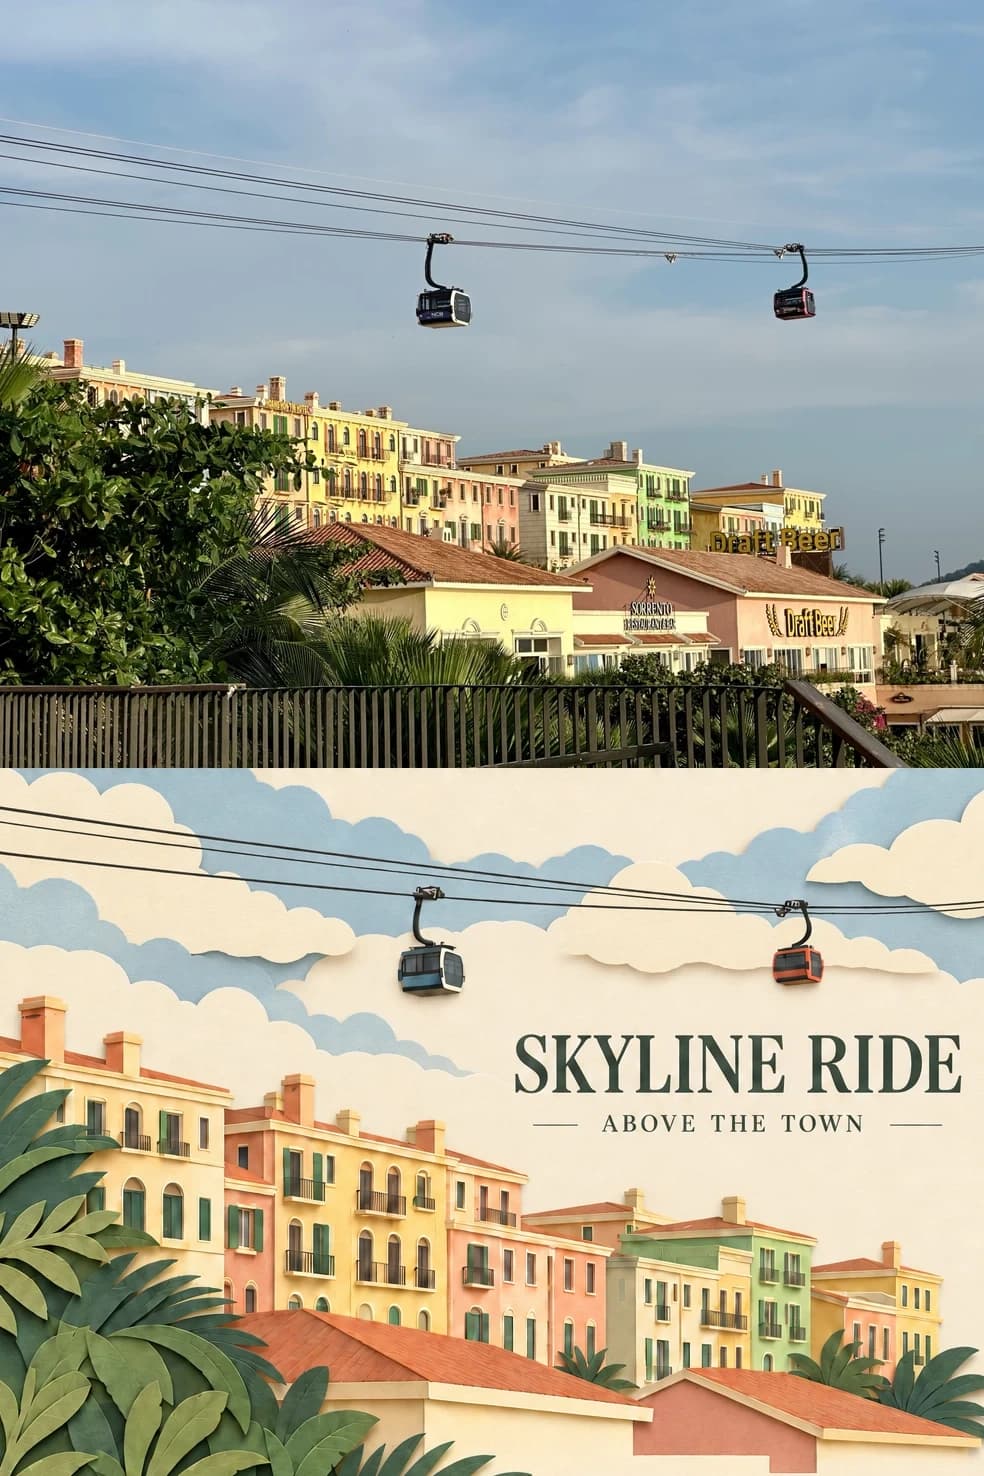
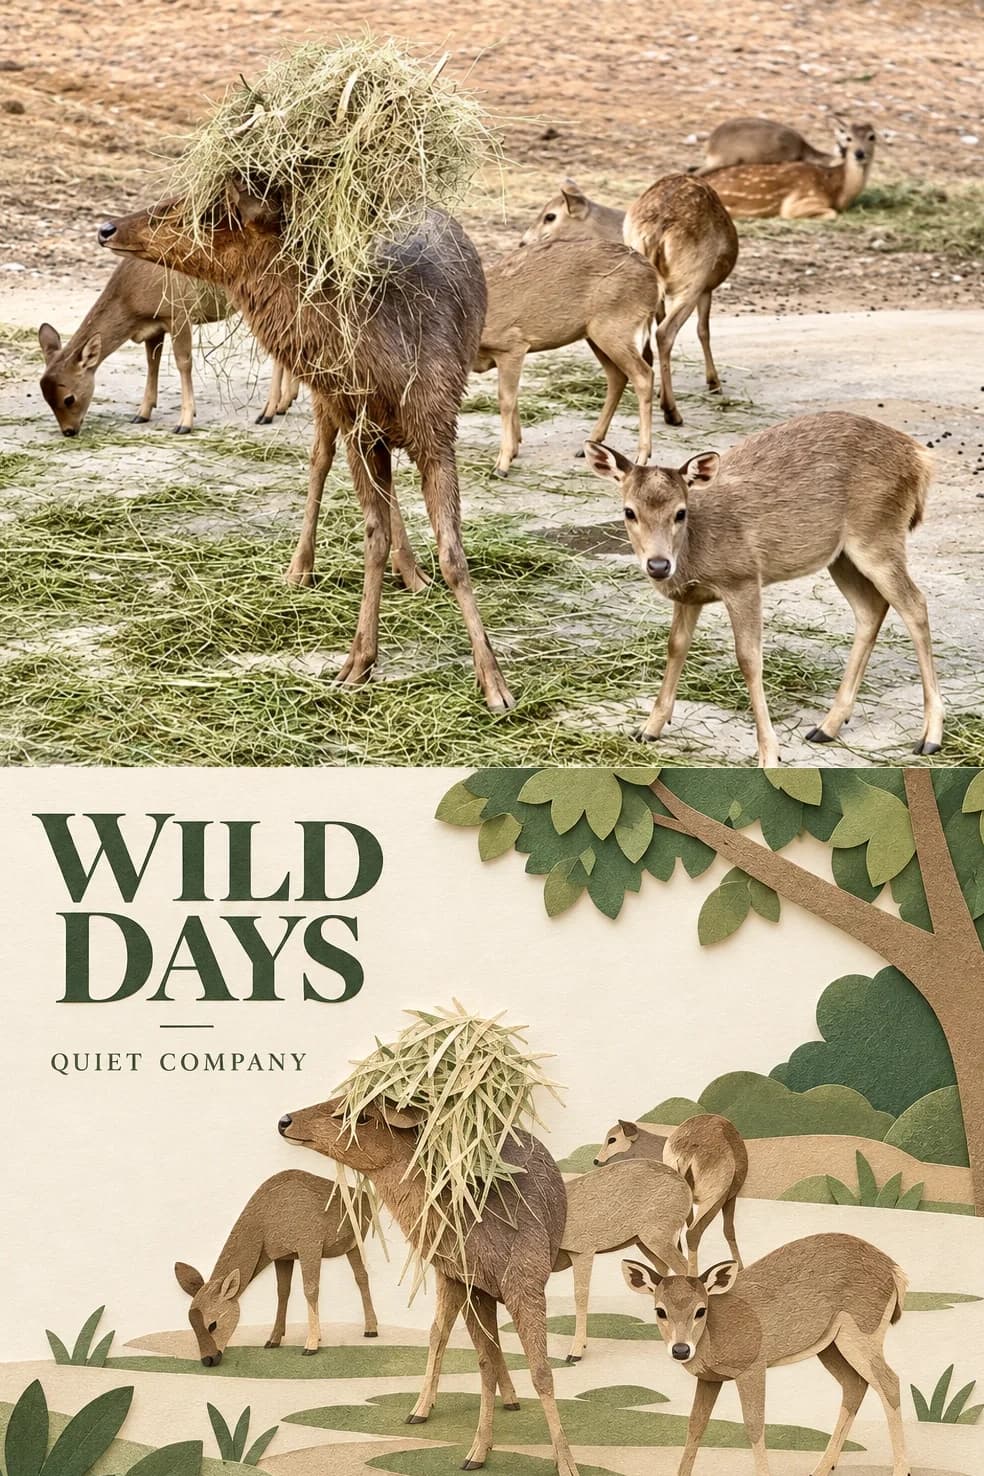
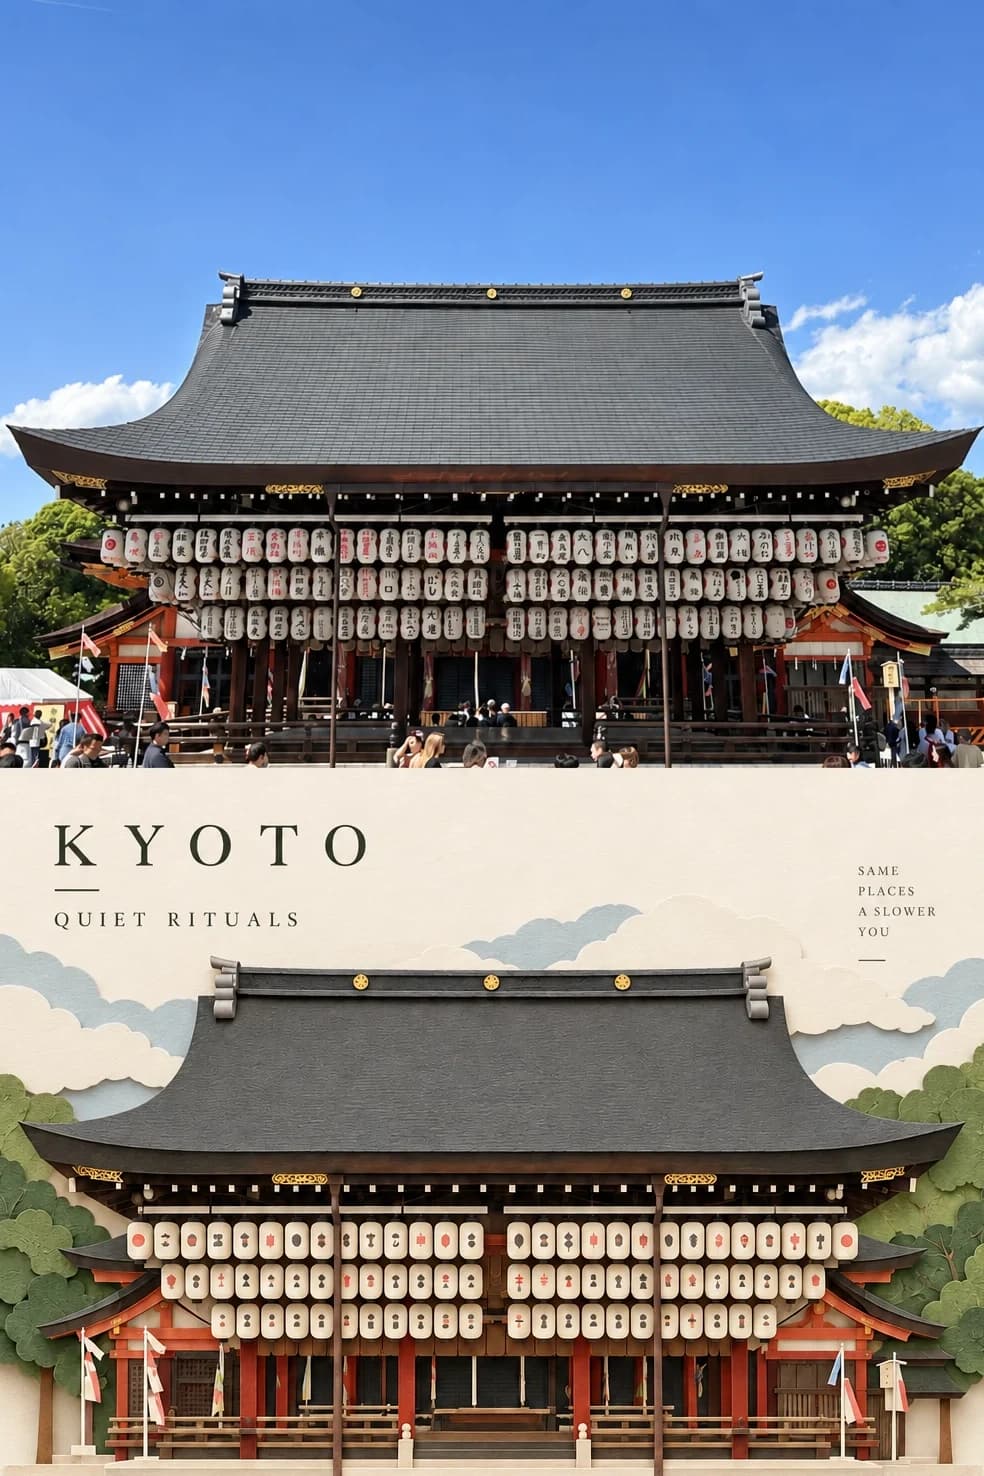
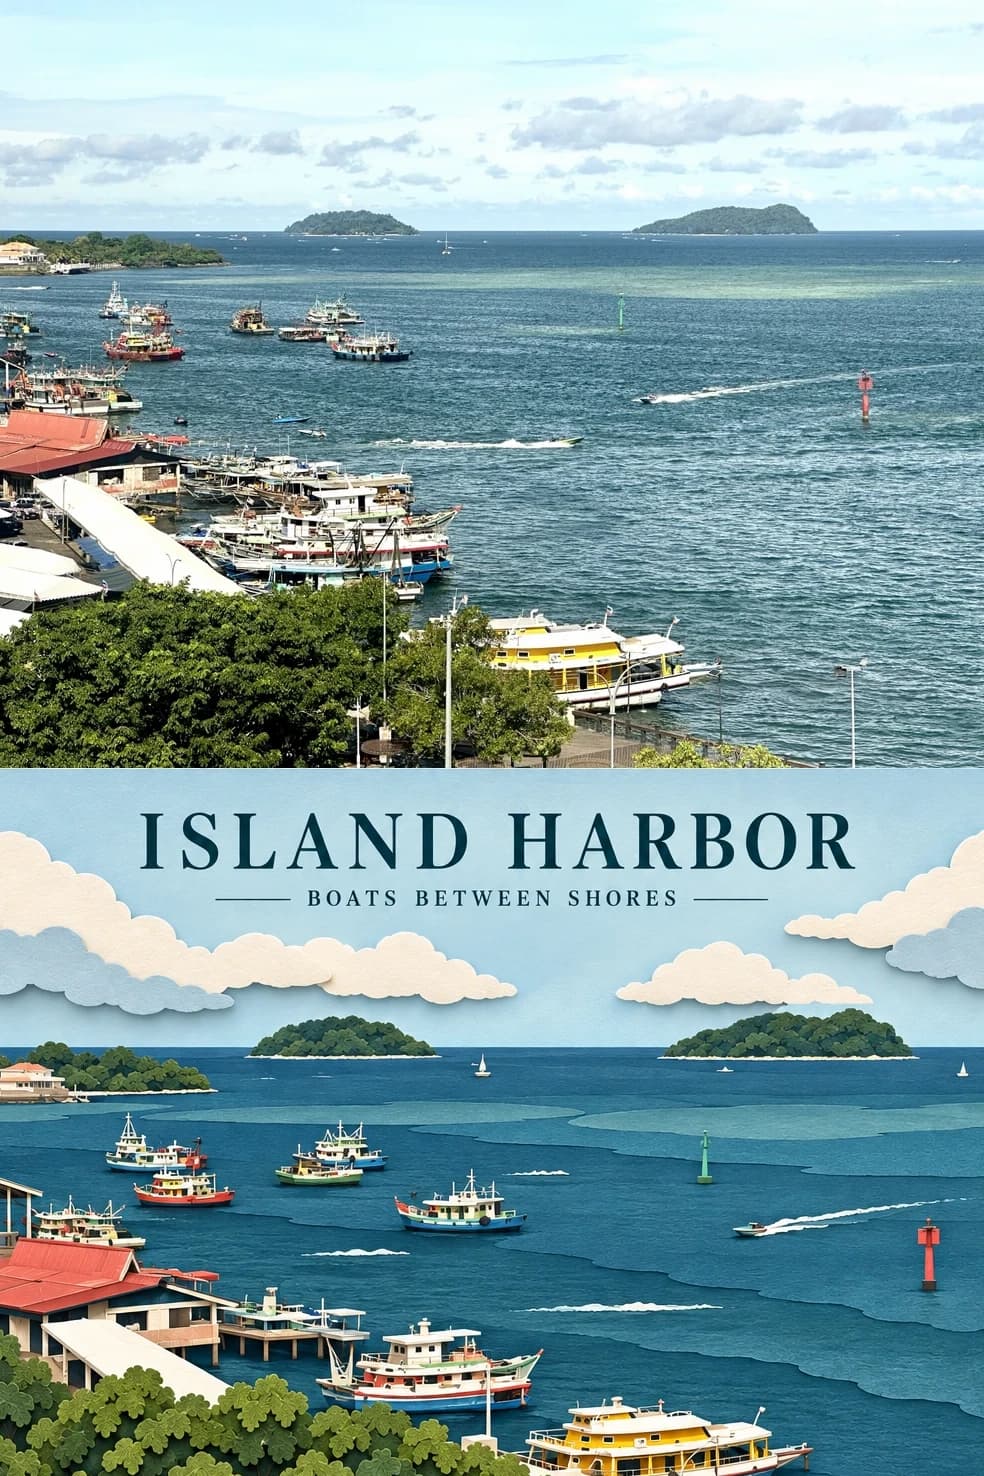
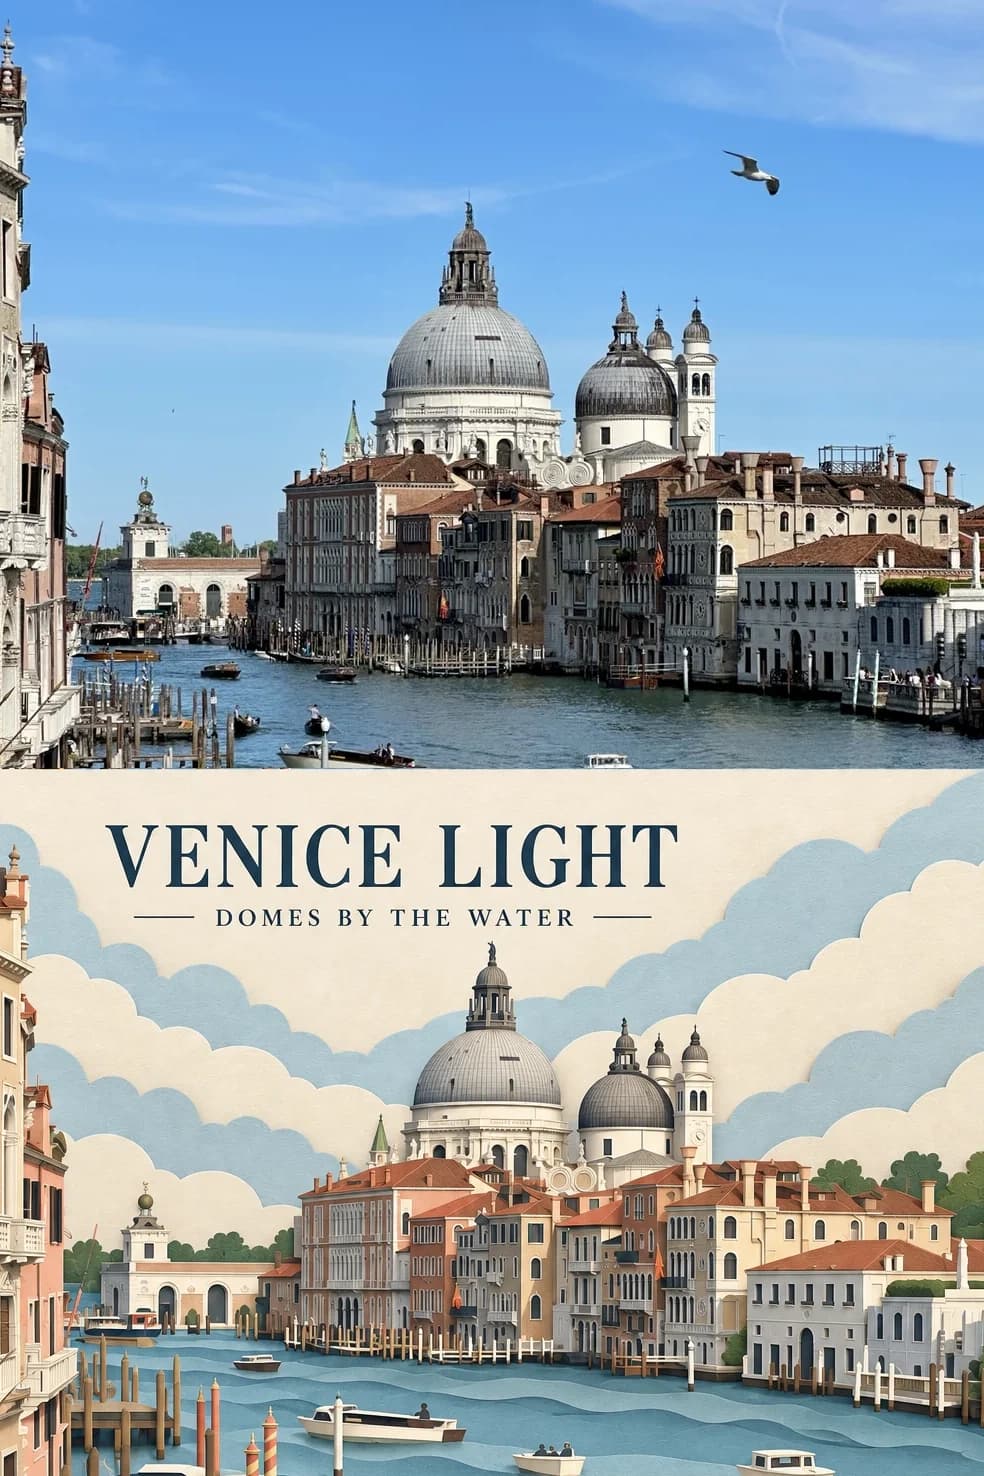
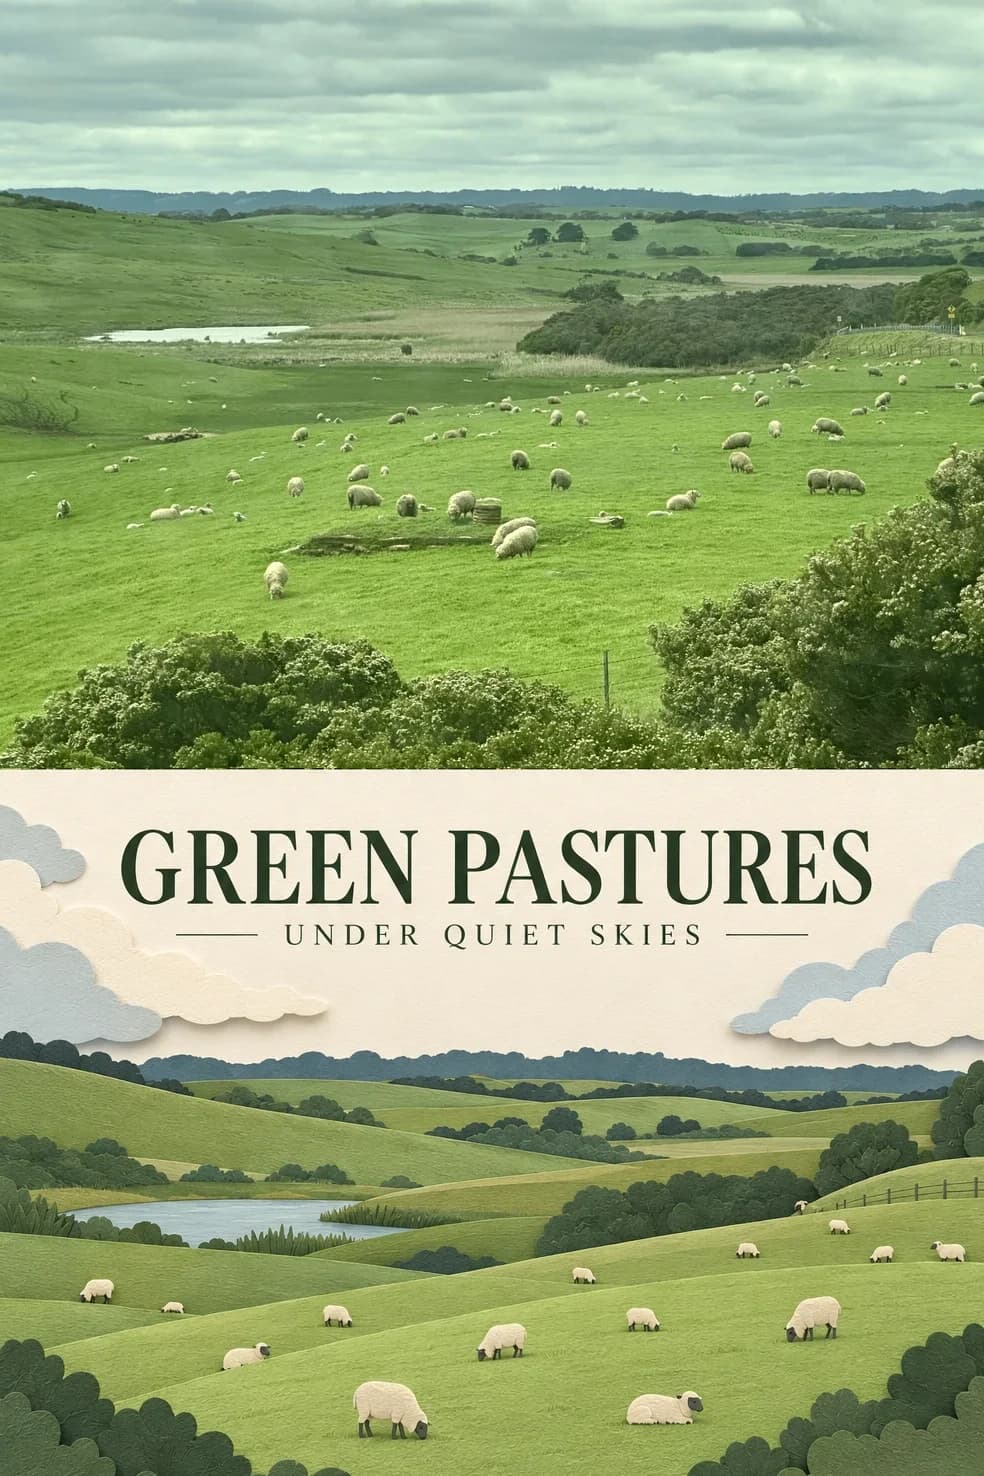
Your travel photo above, the same scene in layered cut paper below
Upload a landscape travel photo and get back a 2:3 poster split exactly in half: the photo on top, and underneath the same scene rebuilt as layered cut card on warm ivory paper. You choose the headline.
100 credits per image · about a minute · New accounts get 500 credits — 5 free images.
Try it with your own photo
New accounts get 500 credits — 5 free images.
Examples
Every image below was made with the prompt on this page.
What is a Paper Cut Travel Poster?
A paper cut travel poster splits a 2:3 vertical frame into two equal halves. The upper half is your photo, kept whole — nothing cropped off, nothing redrawn, nothing stretched. The lower half rebuilds the same scene as multi-layer paper-cut art: every building, tree, boat or animal becomes its own piece of cleanly cut card with a crisp edge, visible thickness and a soft shadow, laid on warm ivory backing paper with a quarter to a third left bare. Colours come from the photo and are softened rather than greyed, and a small serif headline and subtitle sit in the open paper.
Which photos work well?
Daylight travel photos with a clear subject and readable shapes: a landmark or temple front, a row of coloured buildings, a harbour with boats, animals in a field, rolling pasture. Distinct blocks of colour and outline cut especially well, because each one becomes a separate layer of card.
Which photos struggle?
Night shots, dense crowds, close-up portraits and very busy scenes. Paper cut works by simplifying into flat layers, so faces lose likeness, crowds turn into a blur of silhouettes, and a dark photo leaves little colour to cut from. The top half also needs a landscape photo; a portrait one gets its sides extended by the model.
How to turn a photo into a Paper Cut Travel Poster
- 1
Pick an effect
Browse the samples on each tool page to see exactly what you will get before you spend anything.
- 2
Upload your photo
JPEG, PNG or WebP, up to 12 MB. Your photo stays private and is never used to train anything.
- 3
Add your own caption
Most effects let you set the text that appears in the final image, in any language.
- 4
Download the result
You get a high-resolution image, yours to use. 2K is 100 credits, 4K is 200.
The prompt behind this tool
This is the full prompt, translated into English. Copy it and use it with any image model that accepts a reference photo.
Turn the uploaded photo into a refined travel-memory poster.

The canvas is strictly a vertical 2:3 frame, 1024×1536. Split it horizontally at y=768 so the upper and lower halves are exactly 50% each in height — no border, no white margin, no black bars.

Upper half:
Use the original photo. The subject must be shown whole: do not crop off people, animals, buildings, hands, feet or the bottom of any object; do not redraw the subject, stretch the photo or change its proportions. If a portrait-orientation photo cannot fill the landscape zone, centre it at its original proportions and extend the real scene naturally to the left and right.

Lower half:
Turn the photo into a finely made multi-layer paper-cut artwork. Keep the outline, proportions, colours and identifying features of every subject, show each subject in full, and leave generous space between them and the edges of the frame. Do not overfill it: leave about 25–35% of the warm ivory backing paper blank.

The material must read as cleanly cut card: flat paper surfaces, crisp paper edges, visible layer thickness and soft drop shadows. No felt, no plush, no watercolour, no oil paint, no plastic toy look and no ordinary digital-illustration finish.

Overall style: restrained, refined, vintage editorial design, colours soft but not dull. Decorative elements come only from the original photo; add no unrelated objects.

The text must be complete and correctly spelled:
Headline: a short English title distilled from the place or subject of the photo
Subtitle: one short line of small English text

Keep the headline modestly sized and a safe distance from the edges; no missing letters, and it must not cover the subject or run off the frame.
Frequently asked questions
Will it change my photo?
- The top half is your photo, not a copy of it: the prompt forbids redrawing the subject, stretching the picture or changing its proportions, and forbids cropping off people, animals, buildings or the bottoms of things. If your photo is portrait-shaped, it is centred and the scene is extended sideways to fill the landscape strip.
What does the paper-cut half actually look like?
- Layered cut card on warm ivory paper. Each shape — a roof, a tree canopy, a boat, an animal — is its own piece with a crisp edge, a visible thickness and a soft shadow underneath. A quarter to a third of the lower half is left as bare paper, which is what keeps it from looking like a filter.
Can I choose the headline?
- Yes, and it is the more reliable route. Type a headline and an optional subtitle and they are copied exactly; leave them blank and the model writes its own short English title from the place, which is where spelling slips happen.
What language can the headline be in?
- Any. The creator's examples are all English serif capitals — MILANO, KYOTO, SKYLINE RIDE — and a blank headline comes out in English, but a supplied line is drawn as given. Short works best; the prompt keeps it small and away from the edges.
Where do the colours come from?
- From your photo. The prompt says to keep each subject's colours and to take decoration only from what is in the picture, so a pastel town stays pastel and a green pasture stays green — just softened, never greyed out.
How is this different from the torn paper collage poster?
- That one tears paper: ragged edges, visible fibres, a looser collage. This one cuts it: clean edges, flat card and stacked layers with shadows, closer to a paper diorama. The layout differs too — this is a 2:3 frame split evenly top and bottom.
What size do I get?
- A 2:3 vertical poster. 2K is 100 credits and 4K is 200, and generation usually takes 60 to 90 seconds.
What happens to my photo?
- It is stored privately so the generator can read it, deleted on a schedule, never shown to other users and never used to train a model. You can't swap in your own prompt, but the full prompt is on this page.