Object Study Poster
Your photo on top, and a quiet illustrated study page of the same subject below
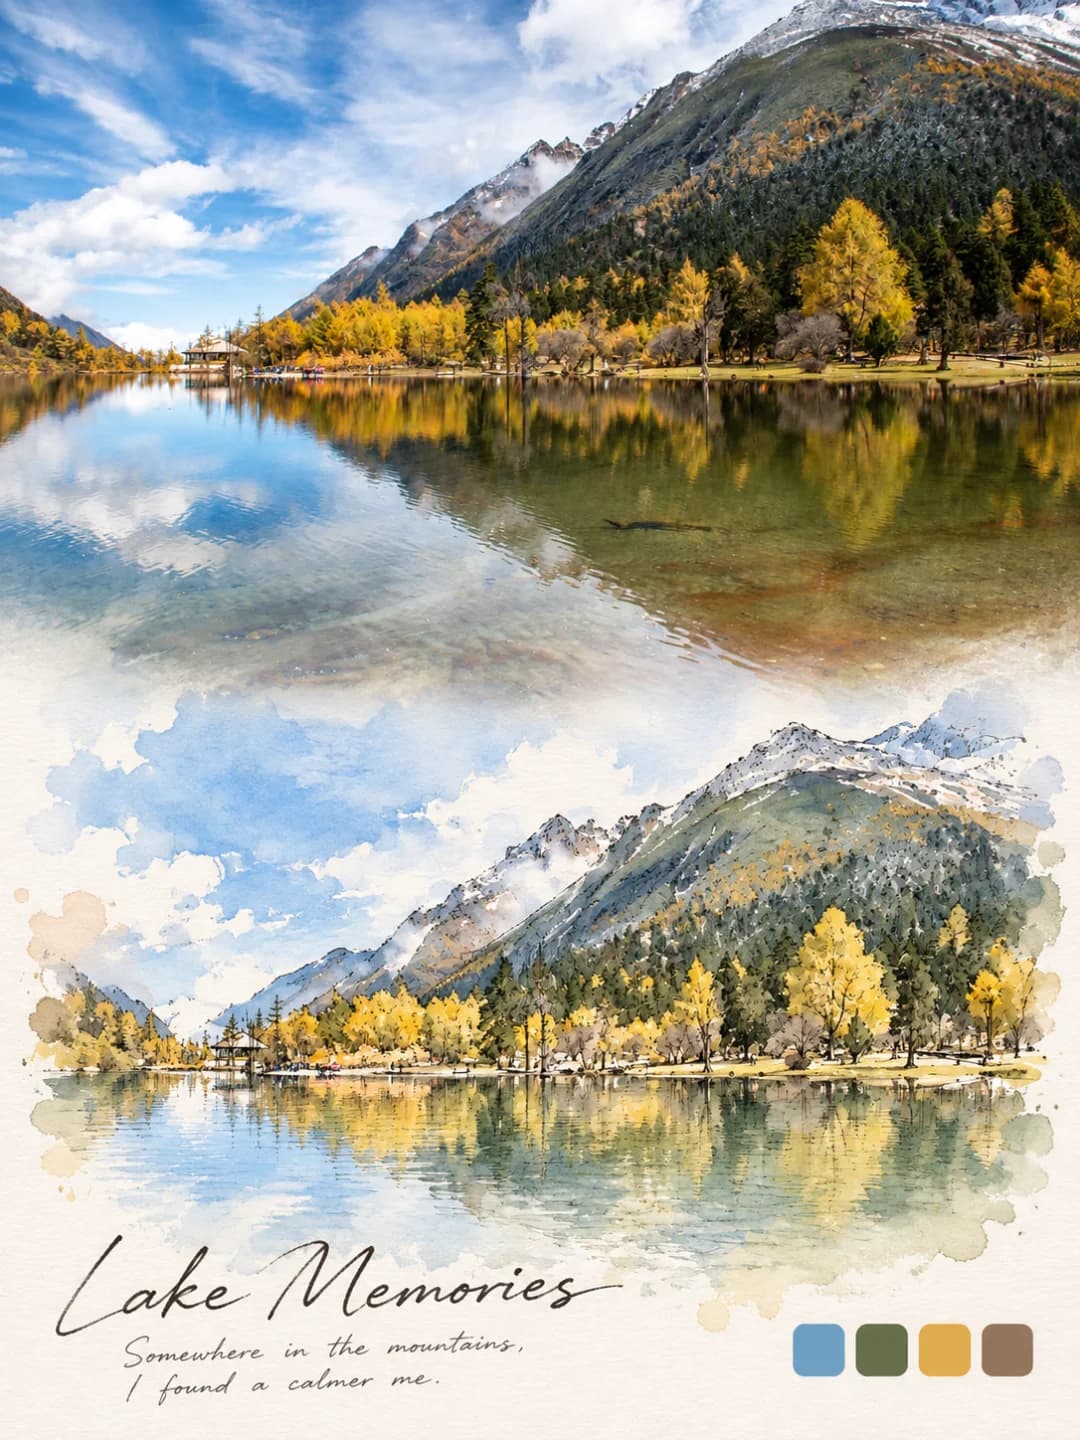
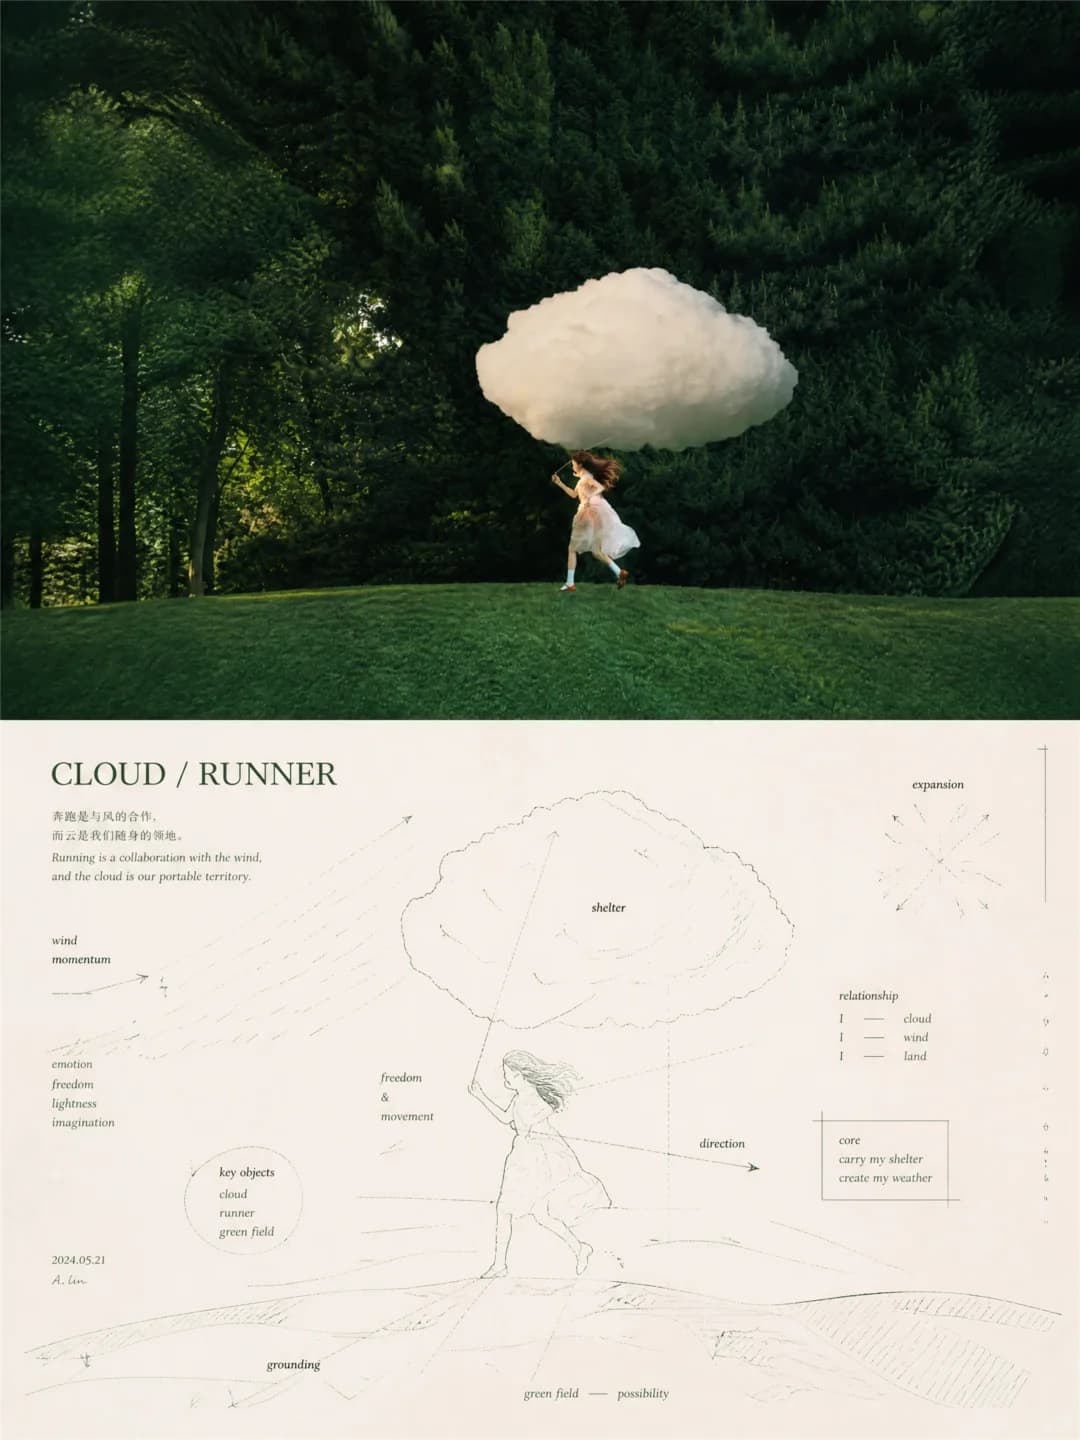
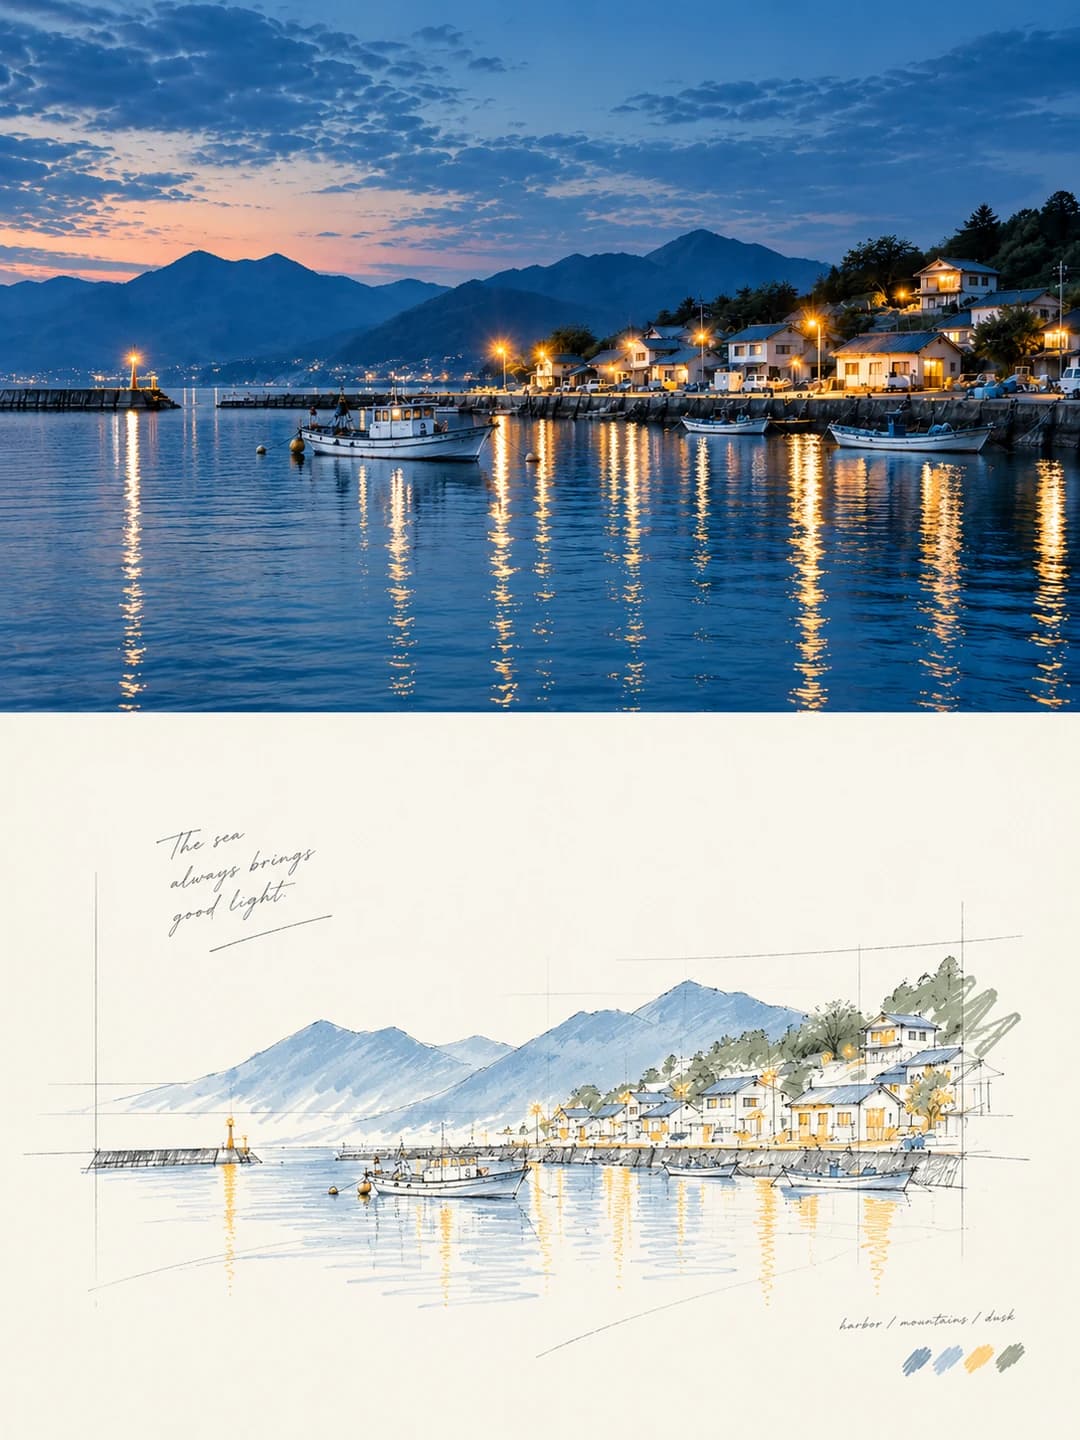
Upload a photo and get back a 3:4 poster. The top half is your photo; the bottom half redraws its subject in pale watercolour and fine line on oatmeal paper, with a few labelled close-up sketches around it, like a page from a careful sketchbook.
100 credits per image · about a minute · New accounts get 500 credits — 5 free images.
Try it with your own photo
New accounts get 500 credits — 5 free images.
Examples
Every image below was made with the prompt on this page.
What is a Object Study Poster?
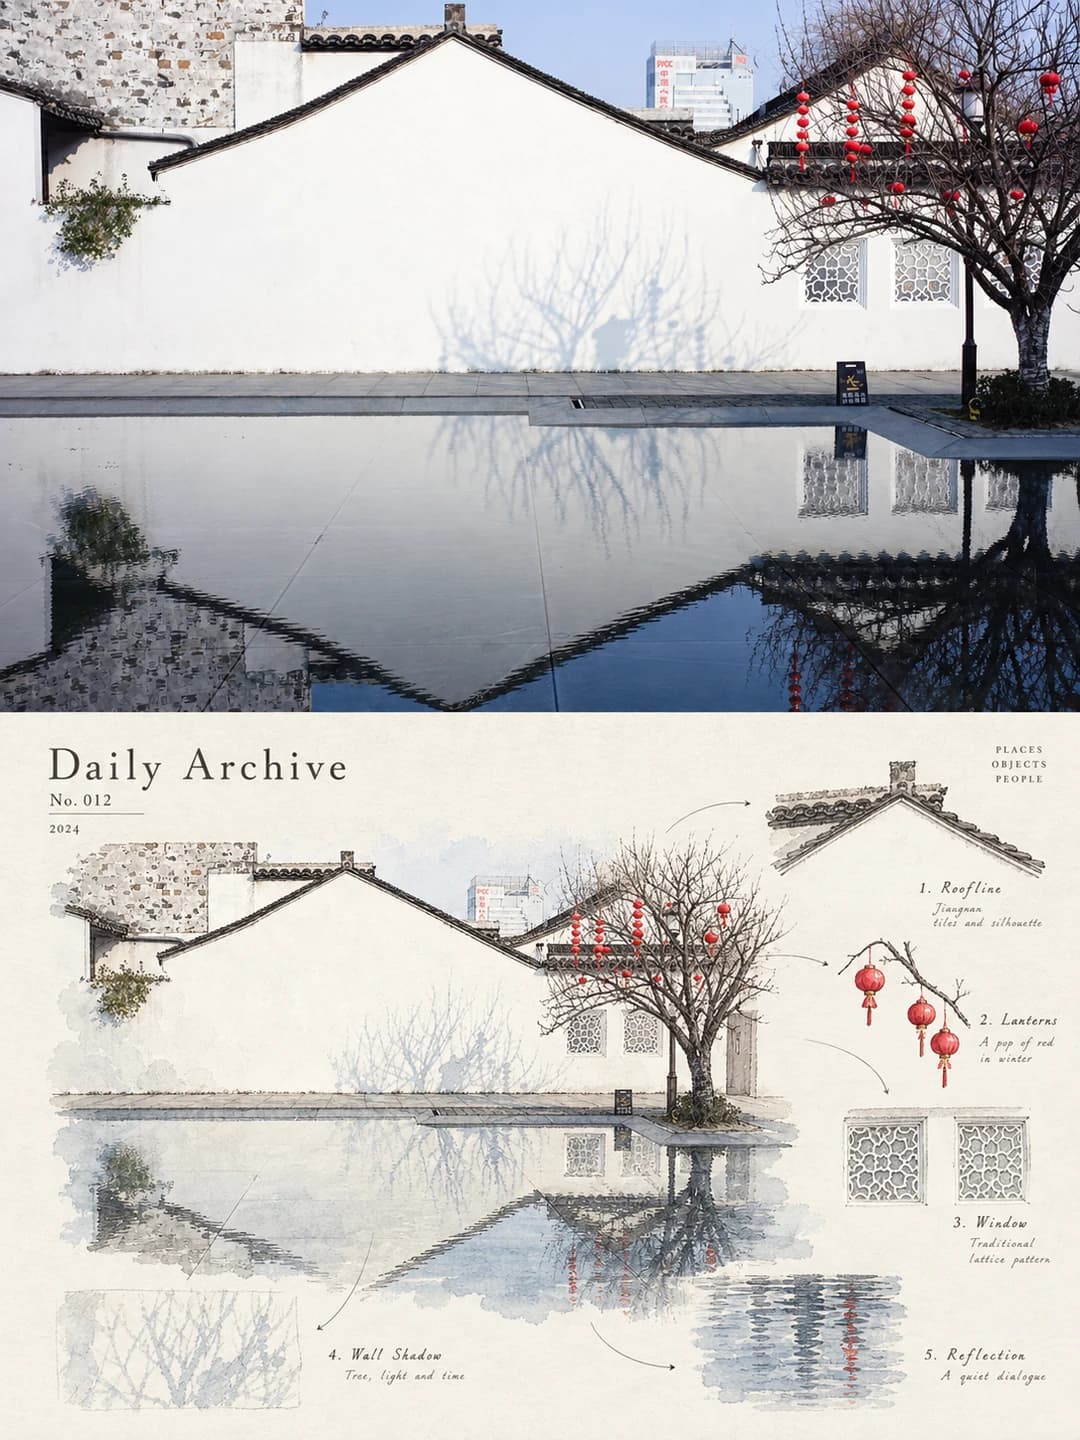
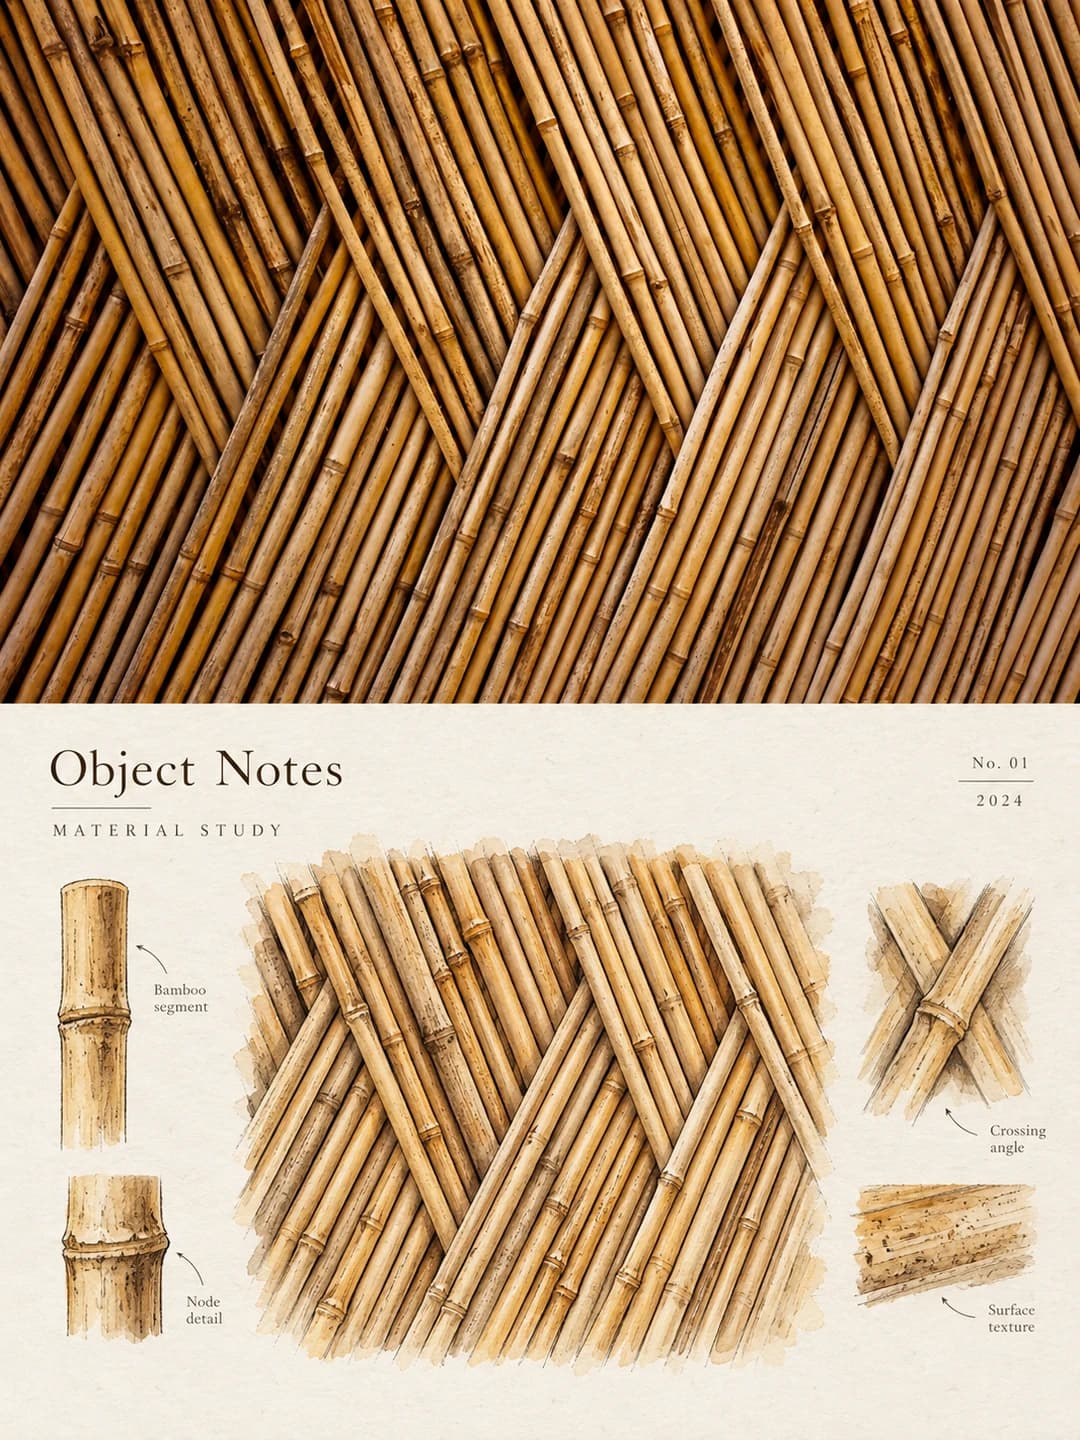
An object study poster splits a 3:4 vertical frame into two halves. The top half is your photo with a soft grade. The bottom half is a restrained study page on warm off-white paper: one main drawing of the same subject in pale watercolour washes and fine ink line, keeping its pose, outline and colours, plus three to six small sketches of its details — a roofline, a window, a paw, a label, an ingredient — each with a short English note and a thin arrow. A small title such as Daily Archive or Object Notes, a number and a year finish the page.
Which photos work well?
Subjects with details worth pulling out: a building with distinctive windows or roof tiles, a pet, a product in its packaging, a plate of food, a bicycle, a plant, a close-up of a material such as woven bamboo or stone. The detail sketches come from what is actually in the photo, so a photo with three or four clearly visible parts works best. The top half is a wide slot, so landscape photos fit it best.
Which photos struggle?
Photos with nothing to break down — an empty sky, a plain wall, a blurred night shot — give the model nothing to sketch, and it tends to invent details. Big group photos turn into a crowded page. Portrait-shaped photos get cropped hard. If you want looser pen-and-wash scenery with colour swatches instead of labelled details, try the watercolour journal poster; for a diagram of ideas rather than drawings, the concept map art poster.
How to turn a photo into a Object Study Poster
- 1
Pick an effect
Browse the samples on each tool page to see exactly what you will get before you spend anything.
- 2
Upload your photo
JPEG, PNG or WebP, up to 12 MB. Your photo stays private and is never used to train anything.
- 3
Add your own caption
Most effects let you set the text that appears in the final image, in any language.
- 4
Download the result
You get a high-resolution image, yours to use. 2K is 100 credits, 4K is 200.
The prompt behind this tool
This is the full prompt, translated into English. Copy it and use it with any image model that accepts a reference photo.
Turn the uploaded photo into a 3:4 vertical, two-zone "light journal study" poster — one photo, one poster. The top half uses the original photo, taking about 50% of the frame, and keeps everything real about the subject and its surroundings — shape, proportions, pose, materials, colour, perspective and light — with only a light, soft grade and no change to what is in the picture.
The bottom half rebuilds the same subject as an Editorial Object Study / Minimal Illustrated Journal Board. The effect is not a busy collage but a very restrained, refined page from a visual journal: on warm off-white paper, the subject is drawn again in pale watercolour washes, fine line work and a few small notes, and depending on the subject it may add a very small number of supporting sketches or close-up breakdowns — always of that same subject. A person might get a main figure and a few sketches of what they are wearing or carrying; a pet, a main drawing plus small studies of its face or paws; a product, its packaging details and parts of its structure; a dish, small drawings of its ingredients; a building, a section of its facade or a window. Every small sketch should form one complete study page with the main drawing, not a messy collage.
The main drawing must correspond closely to the photo above, keeping the key pose, outline and colour relationships. Keep the small sketches to between three and six, with only a few small English labels and fine arrows. The paper is warm white or light oatmeal, with faint fibres and visible hand-drawn marks. The layout should be clean and airy, with few, precise words. A title such as Object Notes / Plate Study / Daily Archive can be added, along with a number, a year or one short line of description.
Overall mood: refined, observational, lightly journal-like, publication-grade, worth keeping. Avoid: children's journals, piles of stickers, coloured sticky notes, fussy decoration, lots of text, busy backgrounds and anything that looks like an AI template page.
Frequently asked questions
Will it change my photo?
- The top half should be your photo as taken, with a light grade. Image models occasionally redraw a photo anyway, so check the top before you use it.
What are the small sketches around the main drawing?
- Close-up studies of parts of your subject — a window from a building, a paw from a pet, an ingredient from a dish. The prompt asks for three to six of them, each with a short English label and a thin arrow, and all of them must come from the same subject. They are the model’s reading of the photo, so it may choose different details from the ones you would.
Can I write the title myself?
- Yes, and it is more reliable. The title takes up to 32 characters and is set exactly as typed; you can add a short description line of up to 48 characters underneath. Leave the title blank and the model picks one in the same spirit, such as Object Notes or Daily Archive.
Can the title be in Chinese or another language?
- Yes — whatever you type is set as typed. The small labels next to the sketches stay in English, because the prompt asks for English notes; a short English title matches them best.
Where do the colours come from?
- From your photo. The main drawing keeps the photo’s colour relationships — red lanterns stay red, honey-coloured bamboo stays honey — but in pale, thin washes on warm paper rather than full photographic colour.
What size do I get and how long does it take?
- A 3:4 vertical image: 2K (1792×2400) for 100 credits or 4K for 200 credits. It usually takes 60 to 90 seconds.
Can I use my own prompt instead?
- No, but the full prompt is shown on this page.
What happens to my photo?
- It is stored privately, used only to make your image, deleted on a schedule and never used for training.